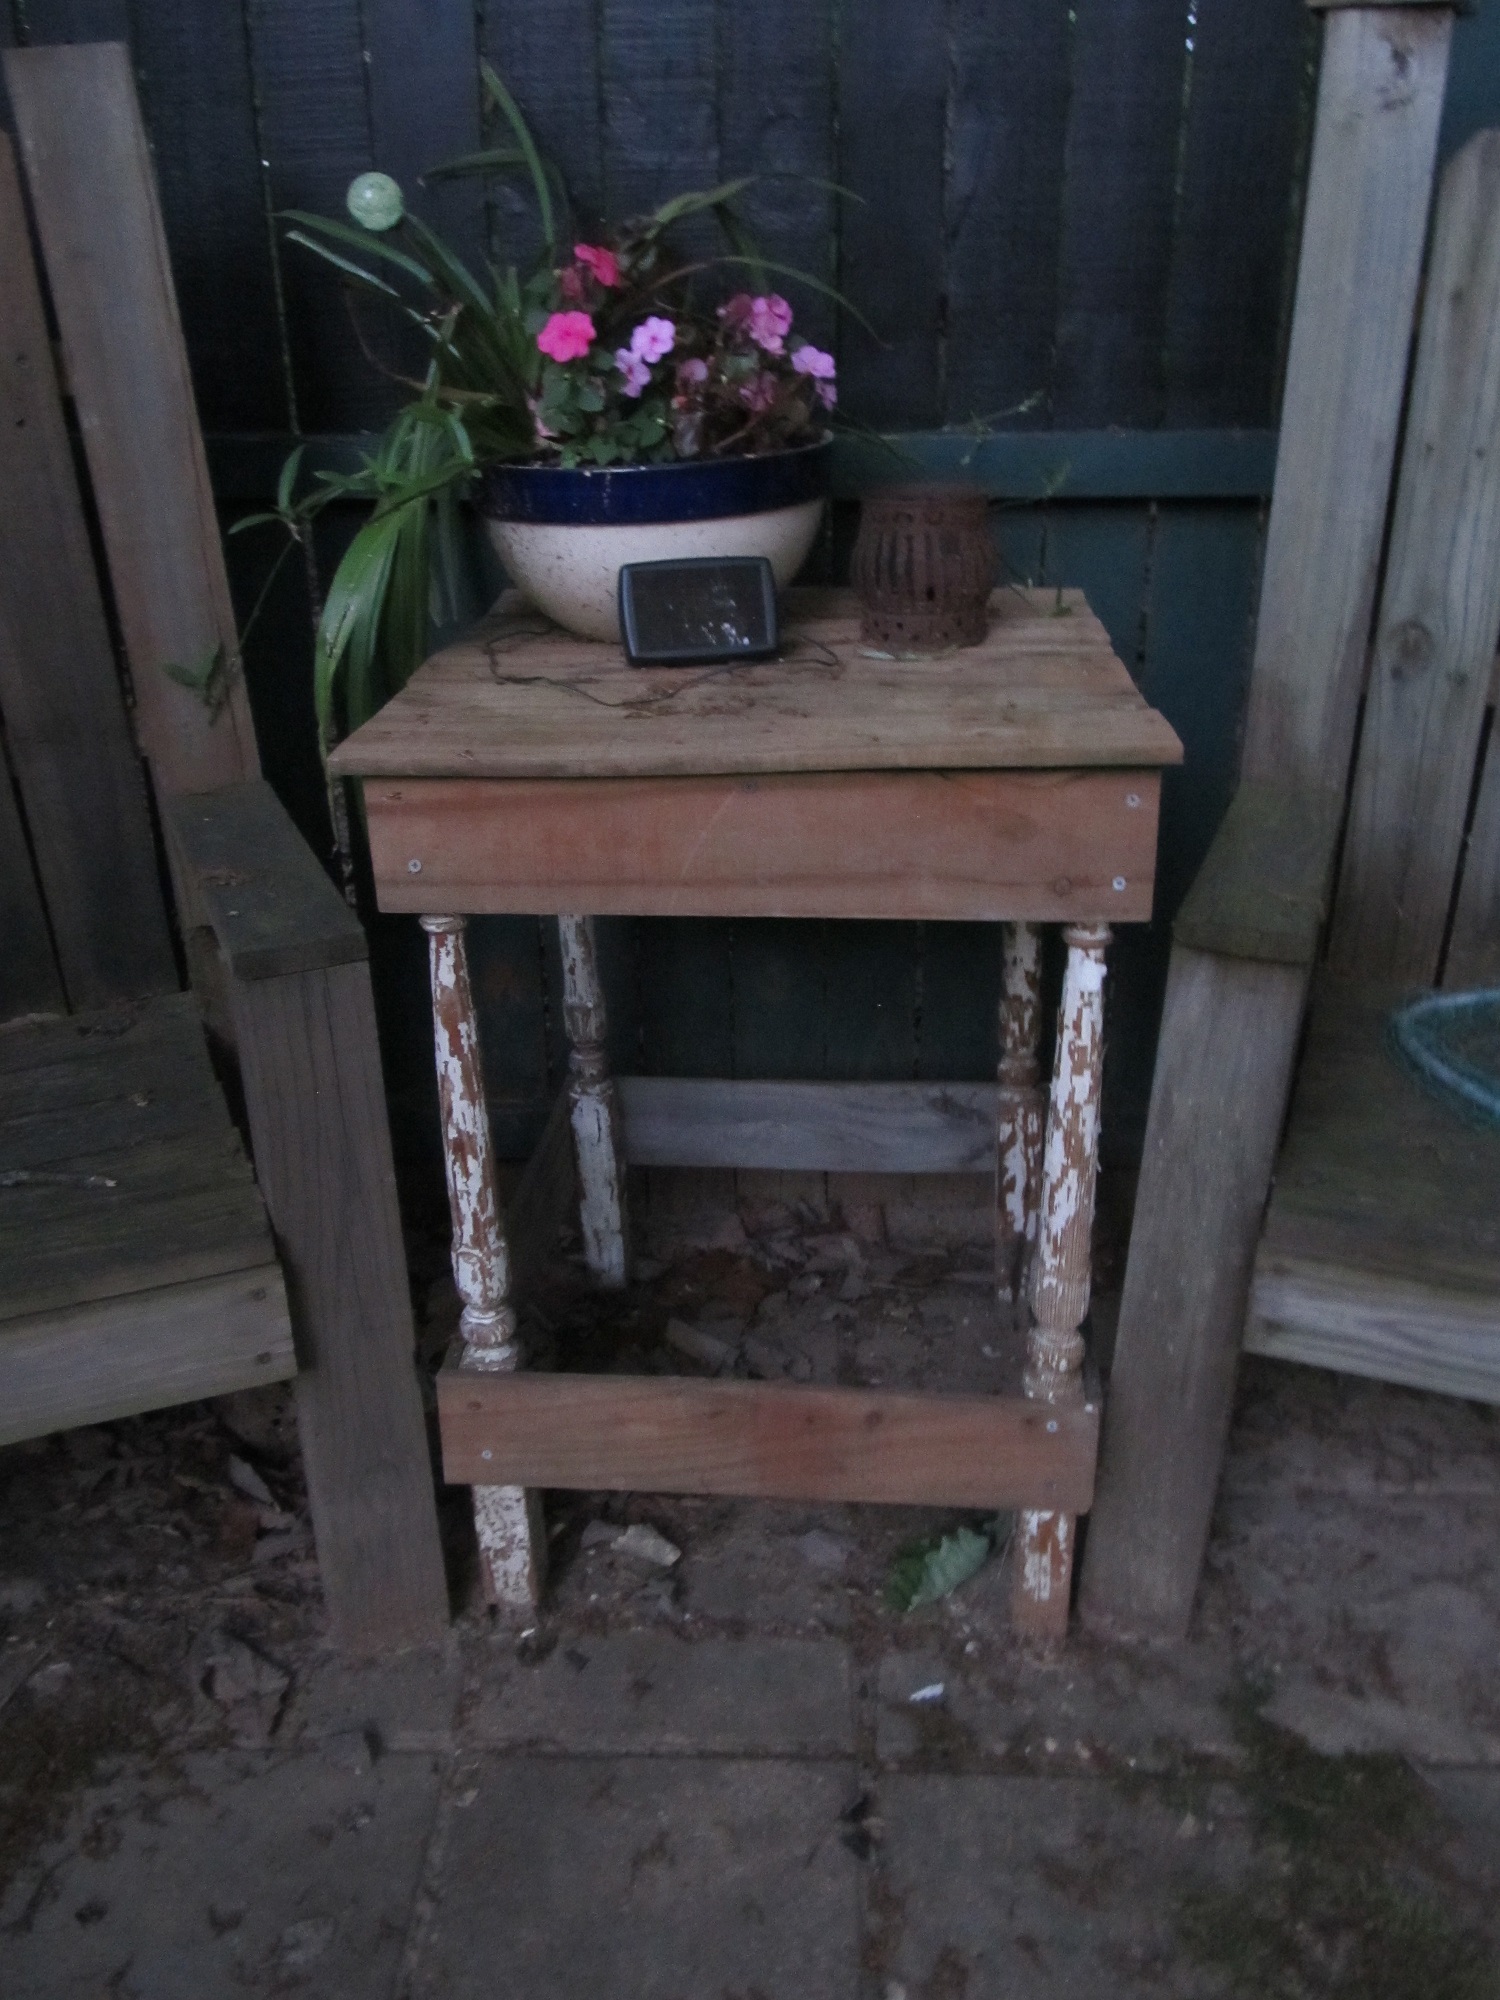
This table was made from old stairway baluster posts and some scrap wood from an old fence. I found the stairway parts in the basement of my parents old Victorian home where they had been dumped when the stairway had been redone. There were square nails in the newel post, baluster posts, and handrail so I couldn’t bear to see them rot in a damp basement. This is really simple so even if you lack woodworking skills you can make this table.

Step 1.
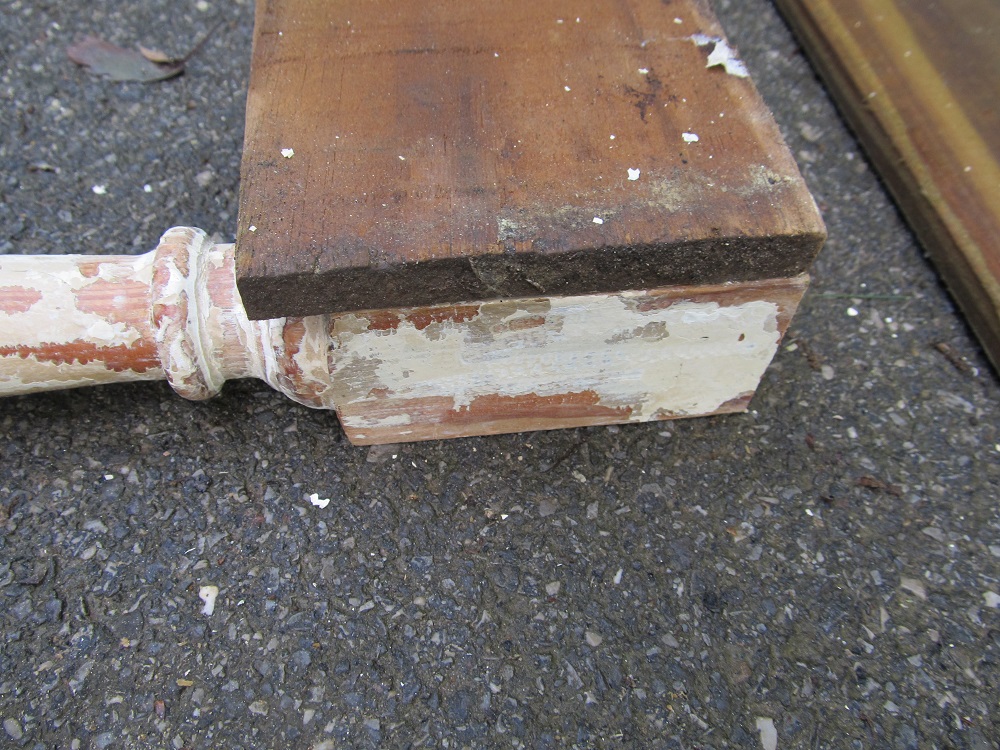
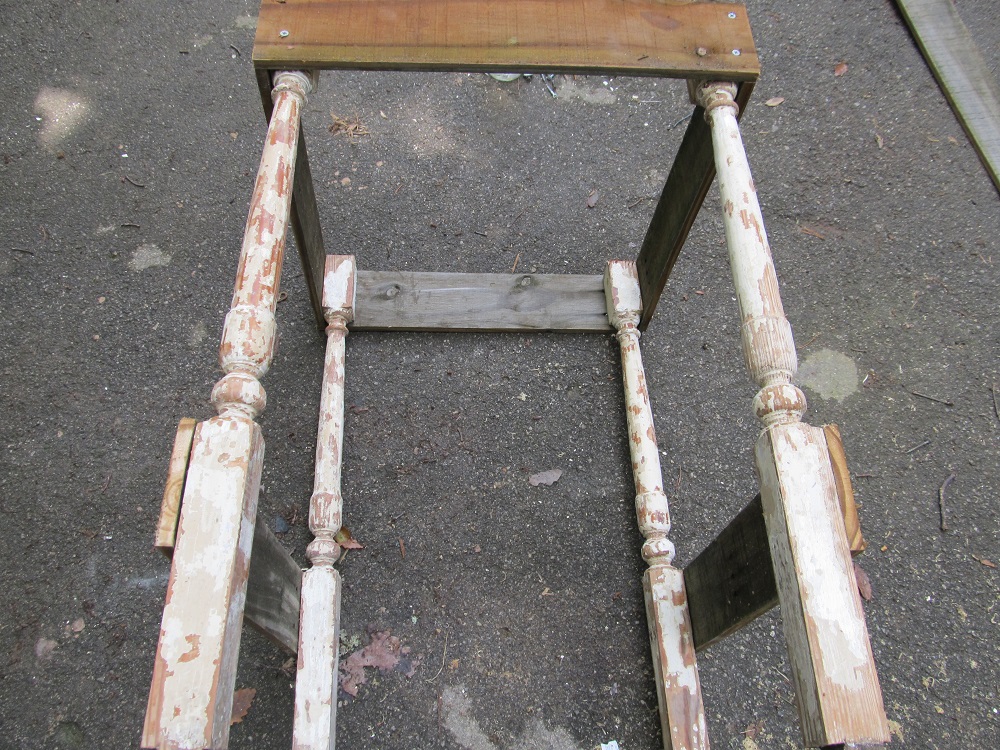
The first thing you will have to do is cut off the top of the posts so they are flat. (They will be angled at the top because that is how they fit into the bannister.) You can always find some at salvage stores and sometimes at garage sales but you will need to find some that are squared at the top and bottom or it will not be as easy to attach the boards. You will need to cut out eight boards that are the same length. I think 1 x 4’s work well for this project and I made mine about 20″ long but you can make them longer or shorter depending on what size you want the table to be.
Step 2.
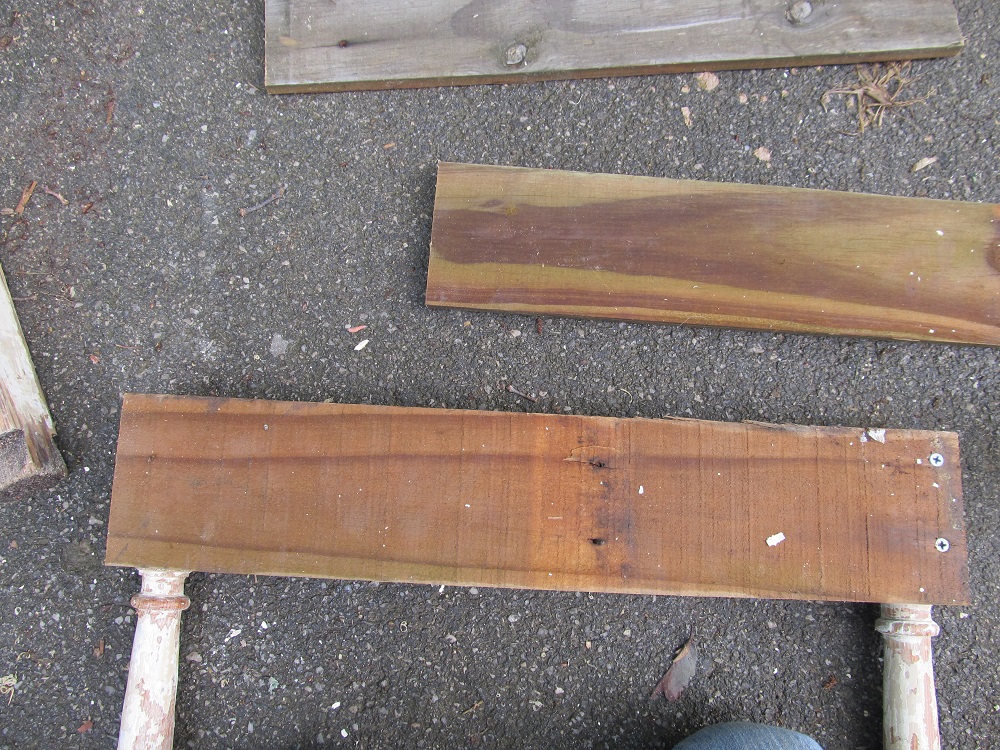
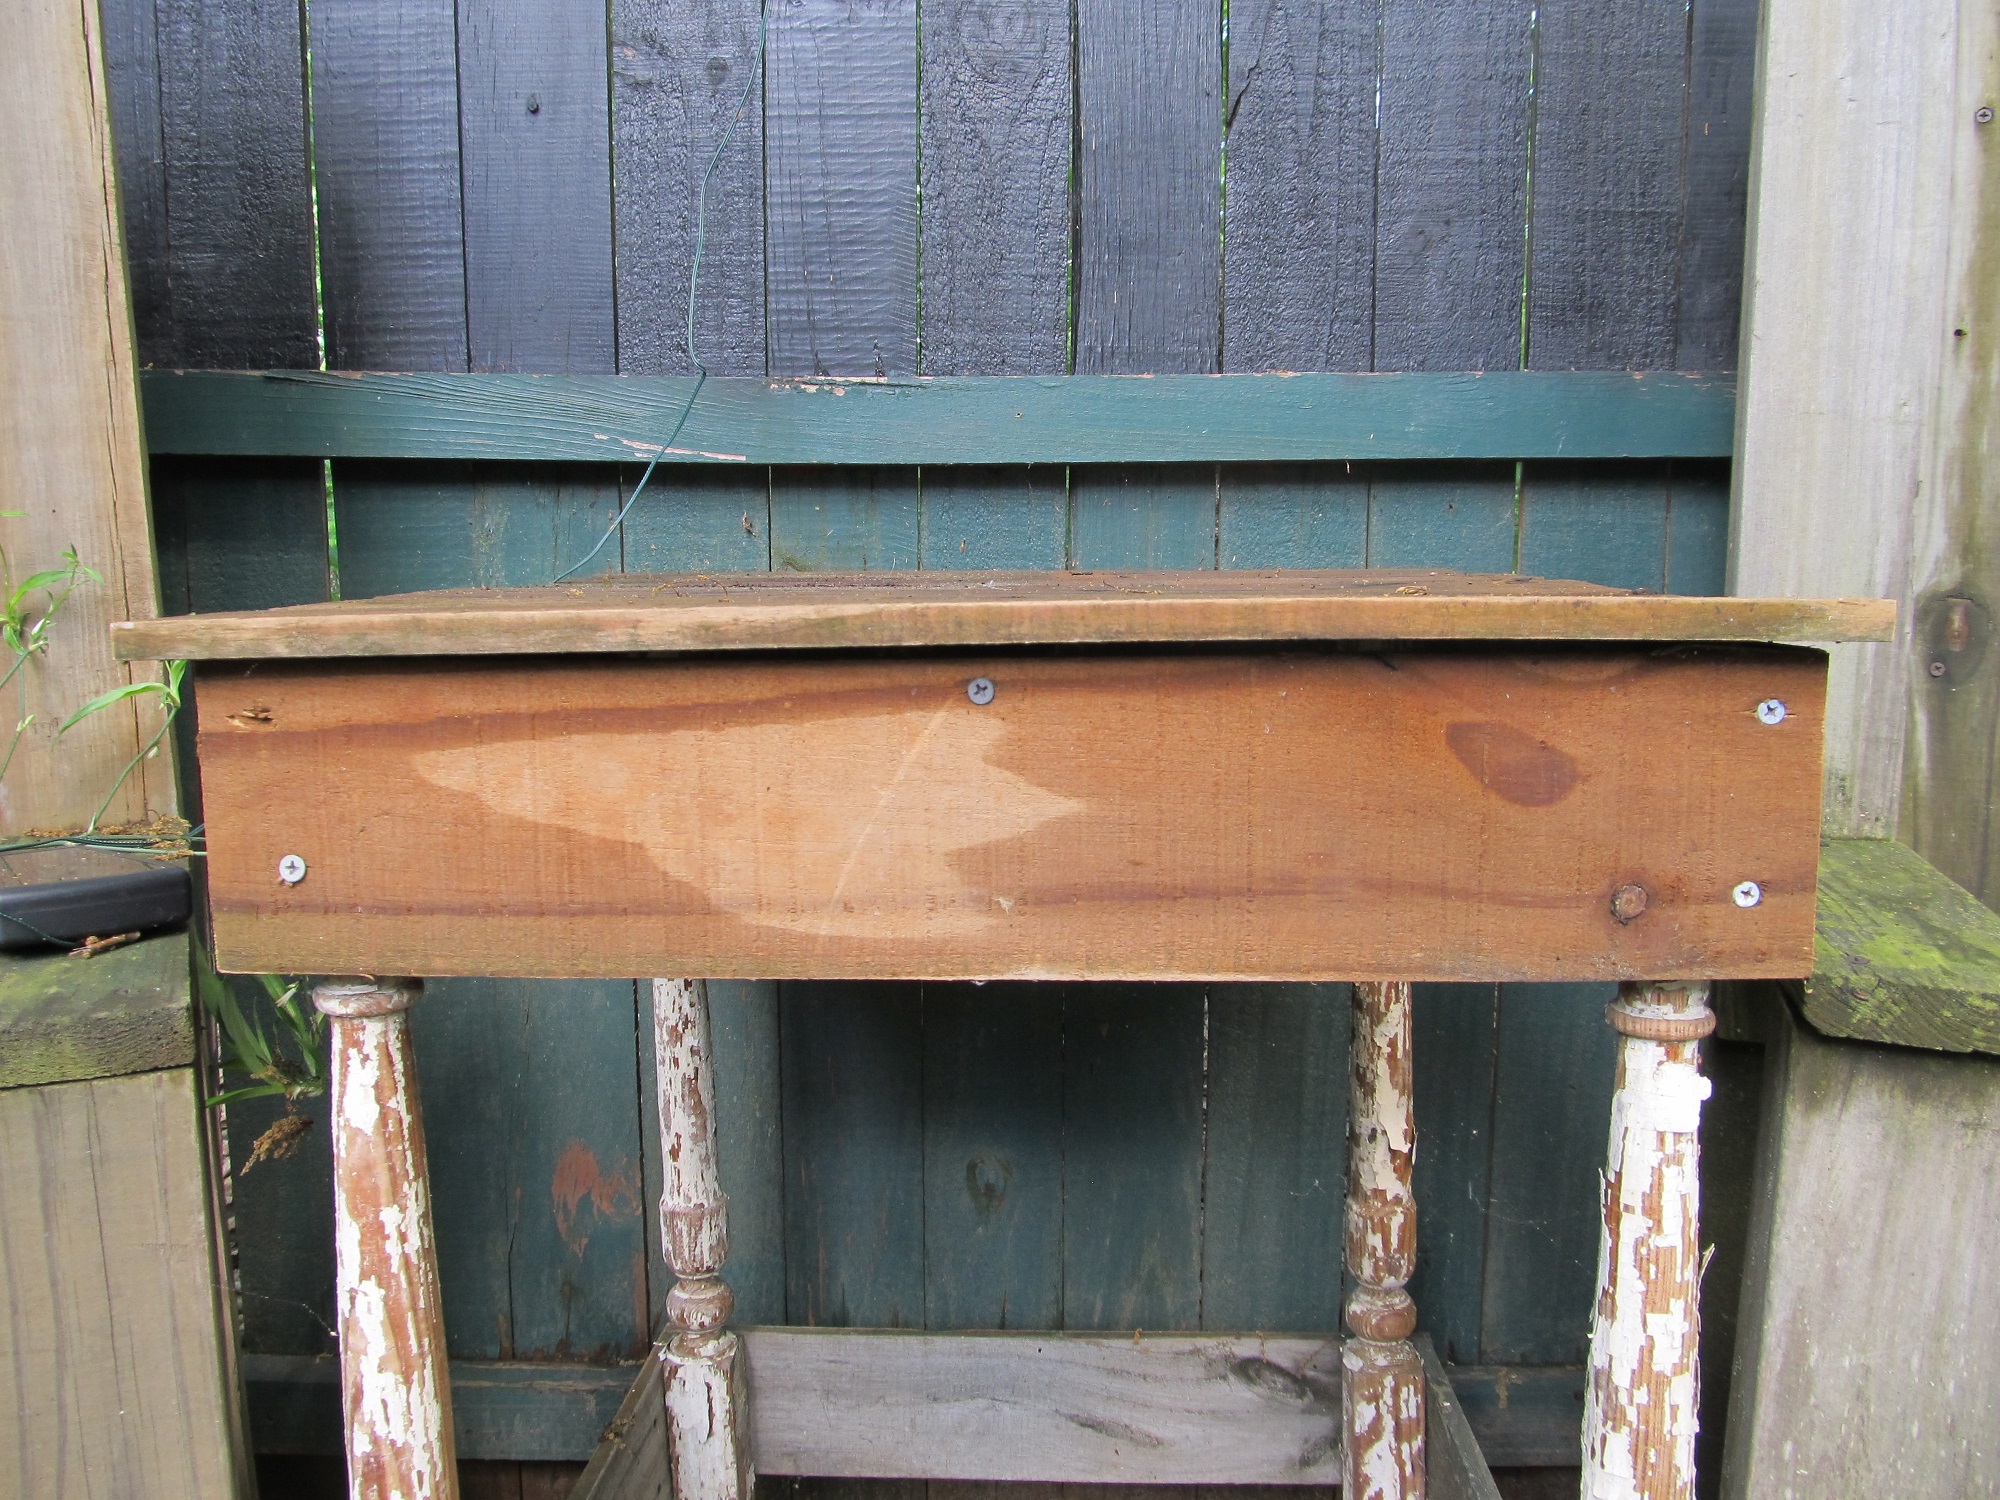
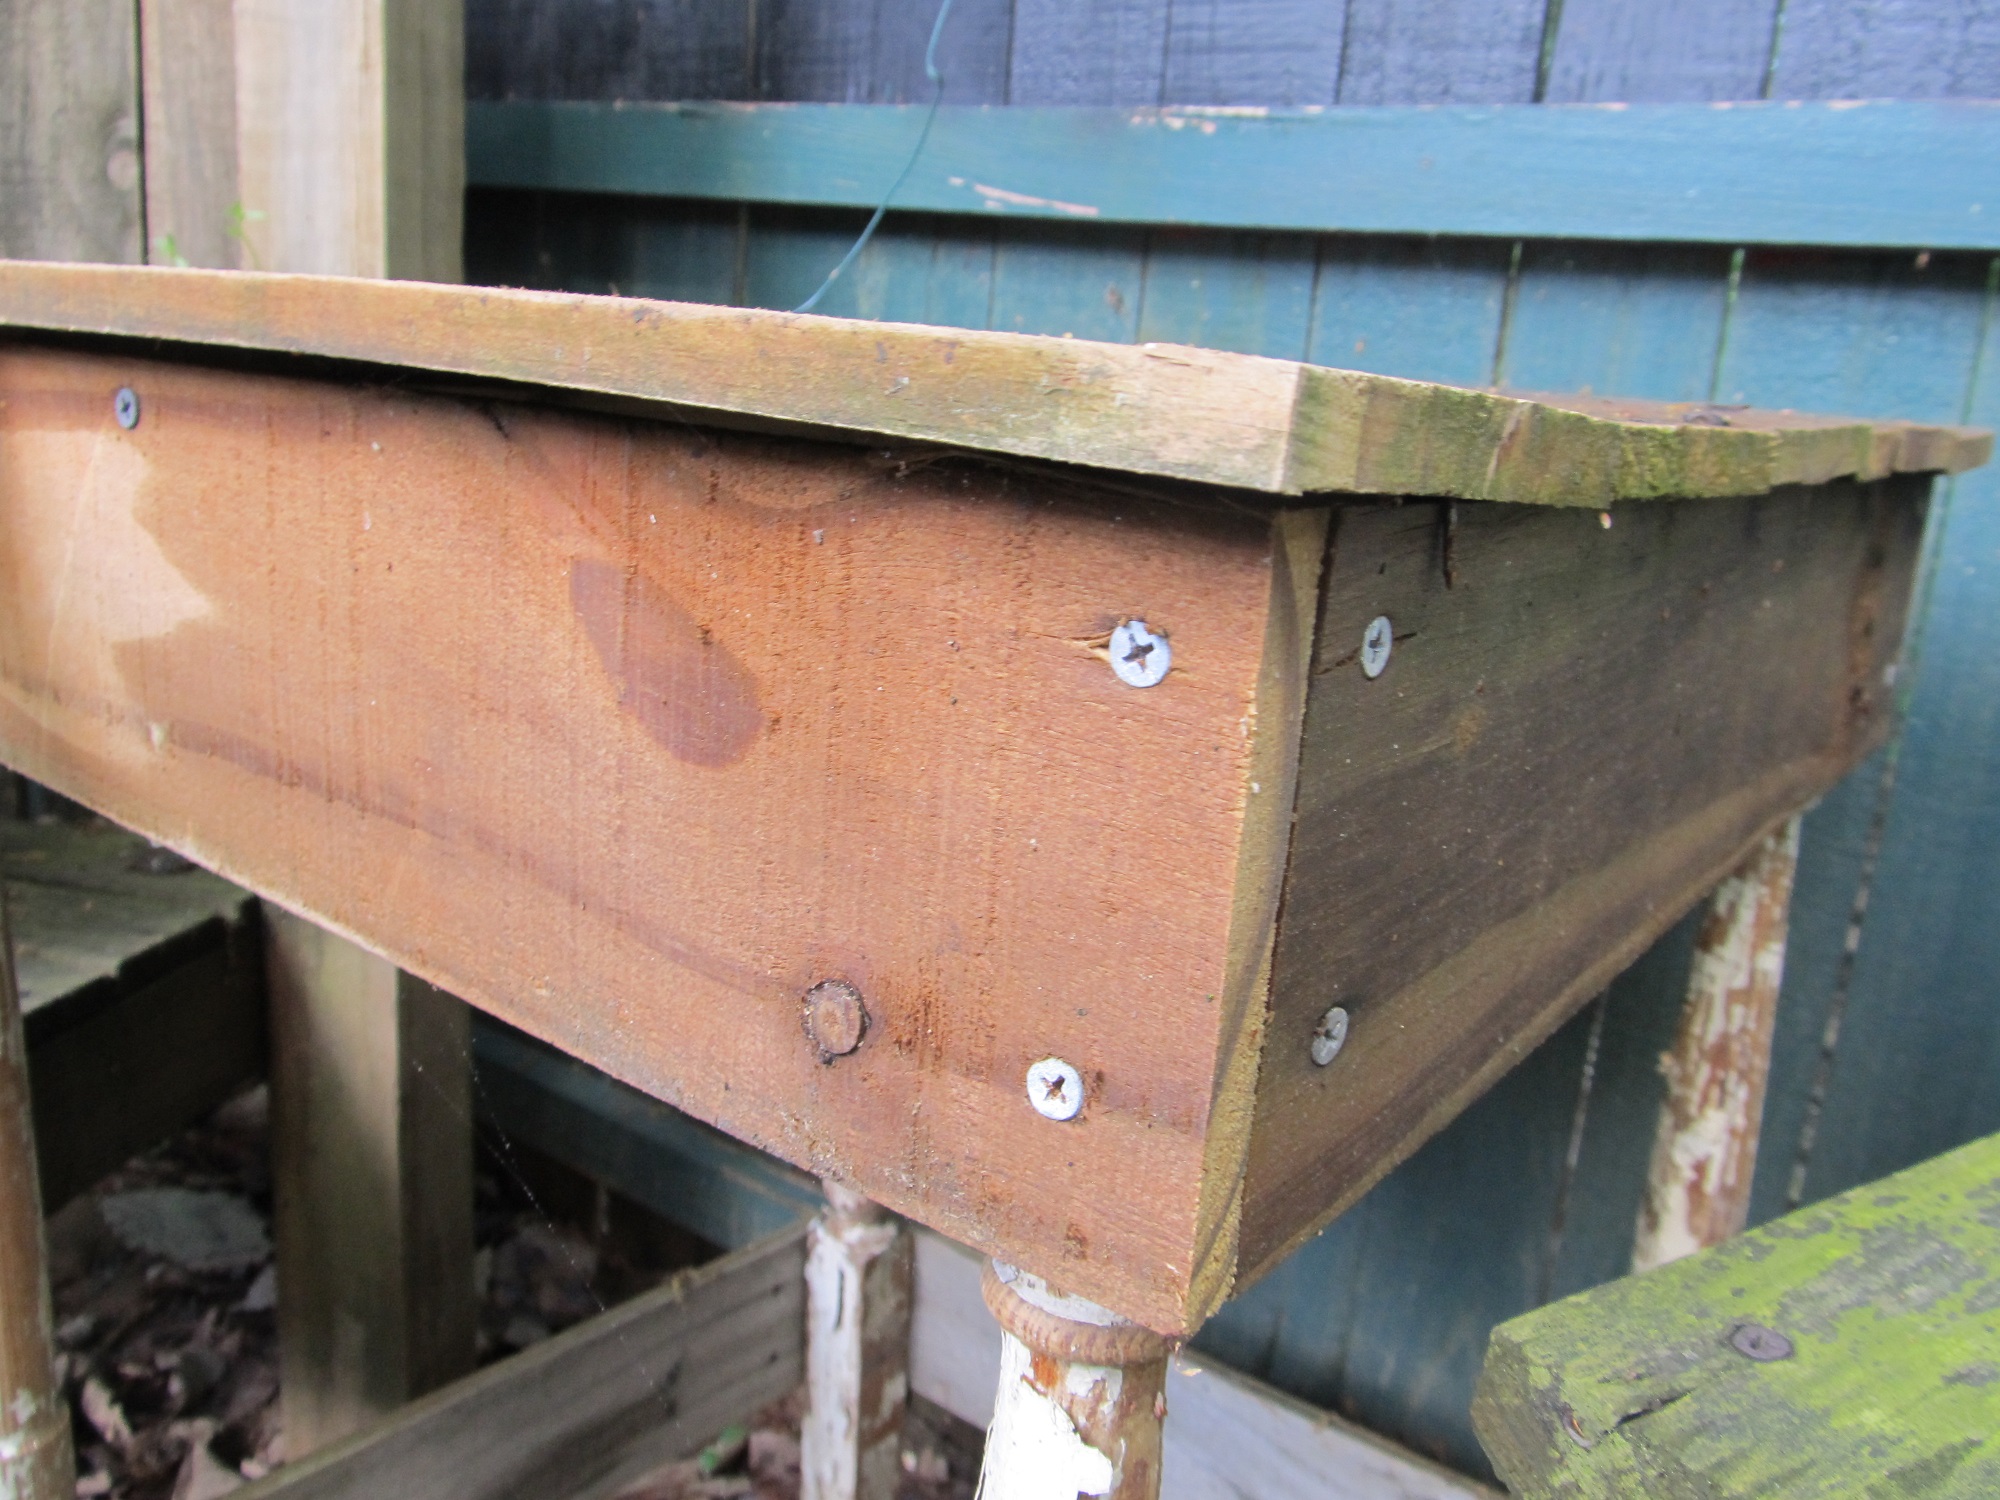
Attach the first board on post #1 and line it up as shown in the picture above. I used screws and put two in each corner. You can use nails if you are more comfortable with a hammer.
Step 3.
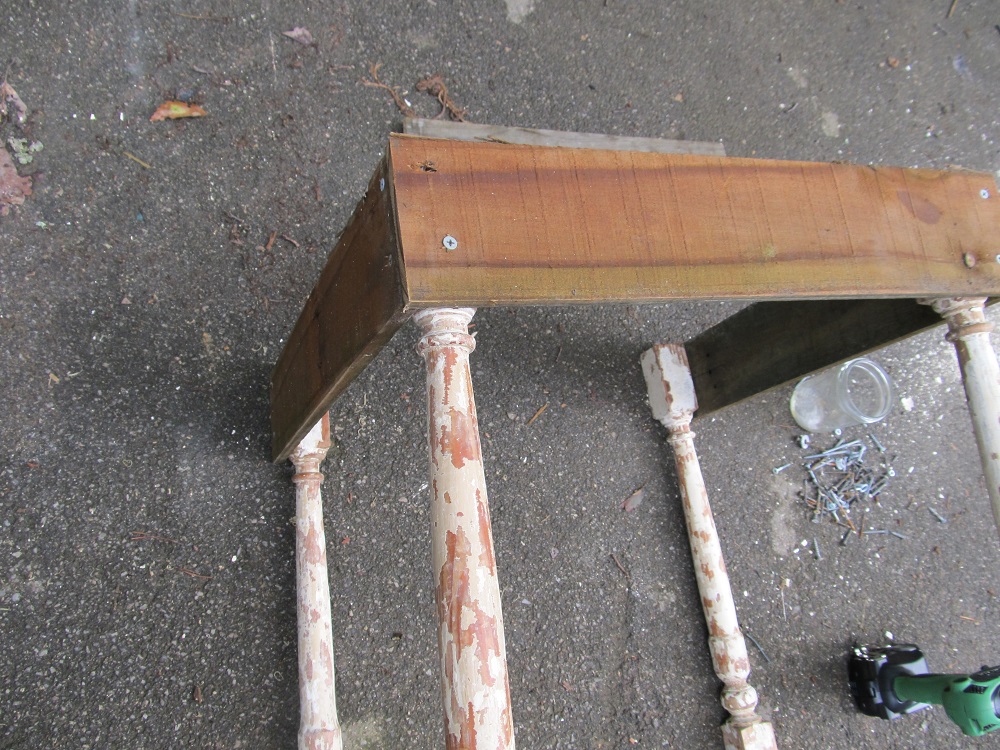
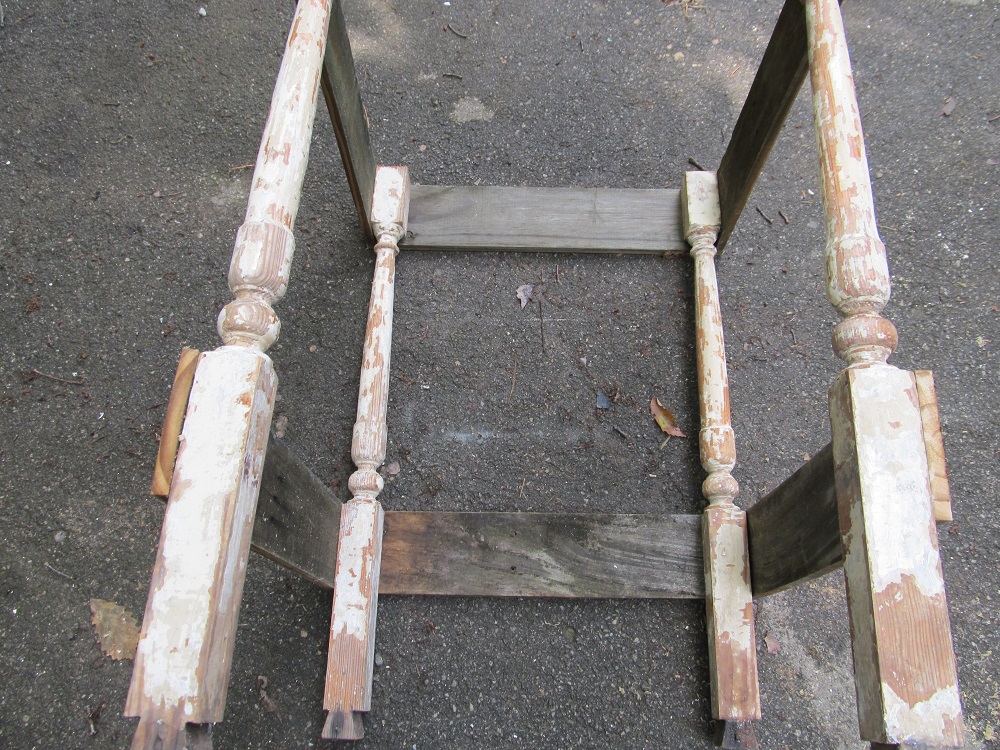
Continue attaching the boards all the way around so that you make a square with a post in each corner.
Step 4.
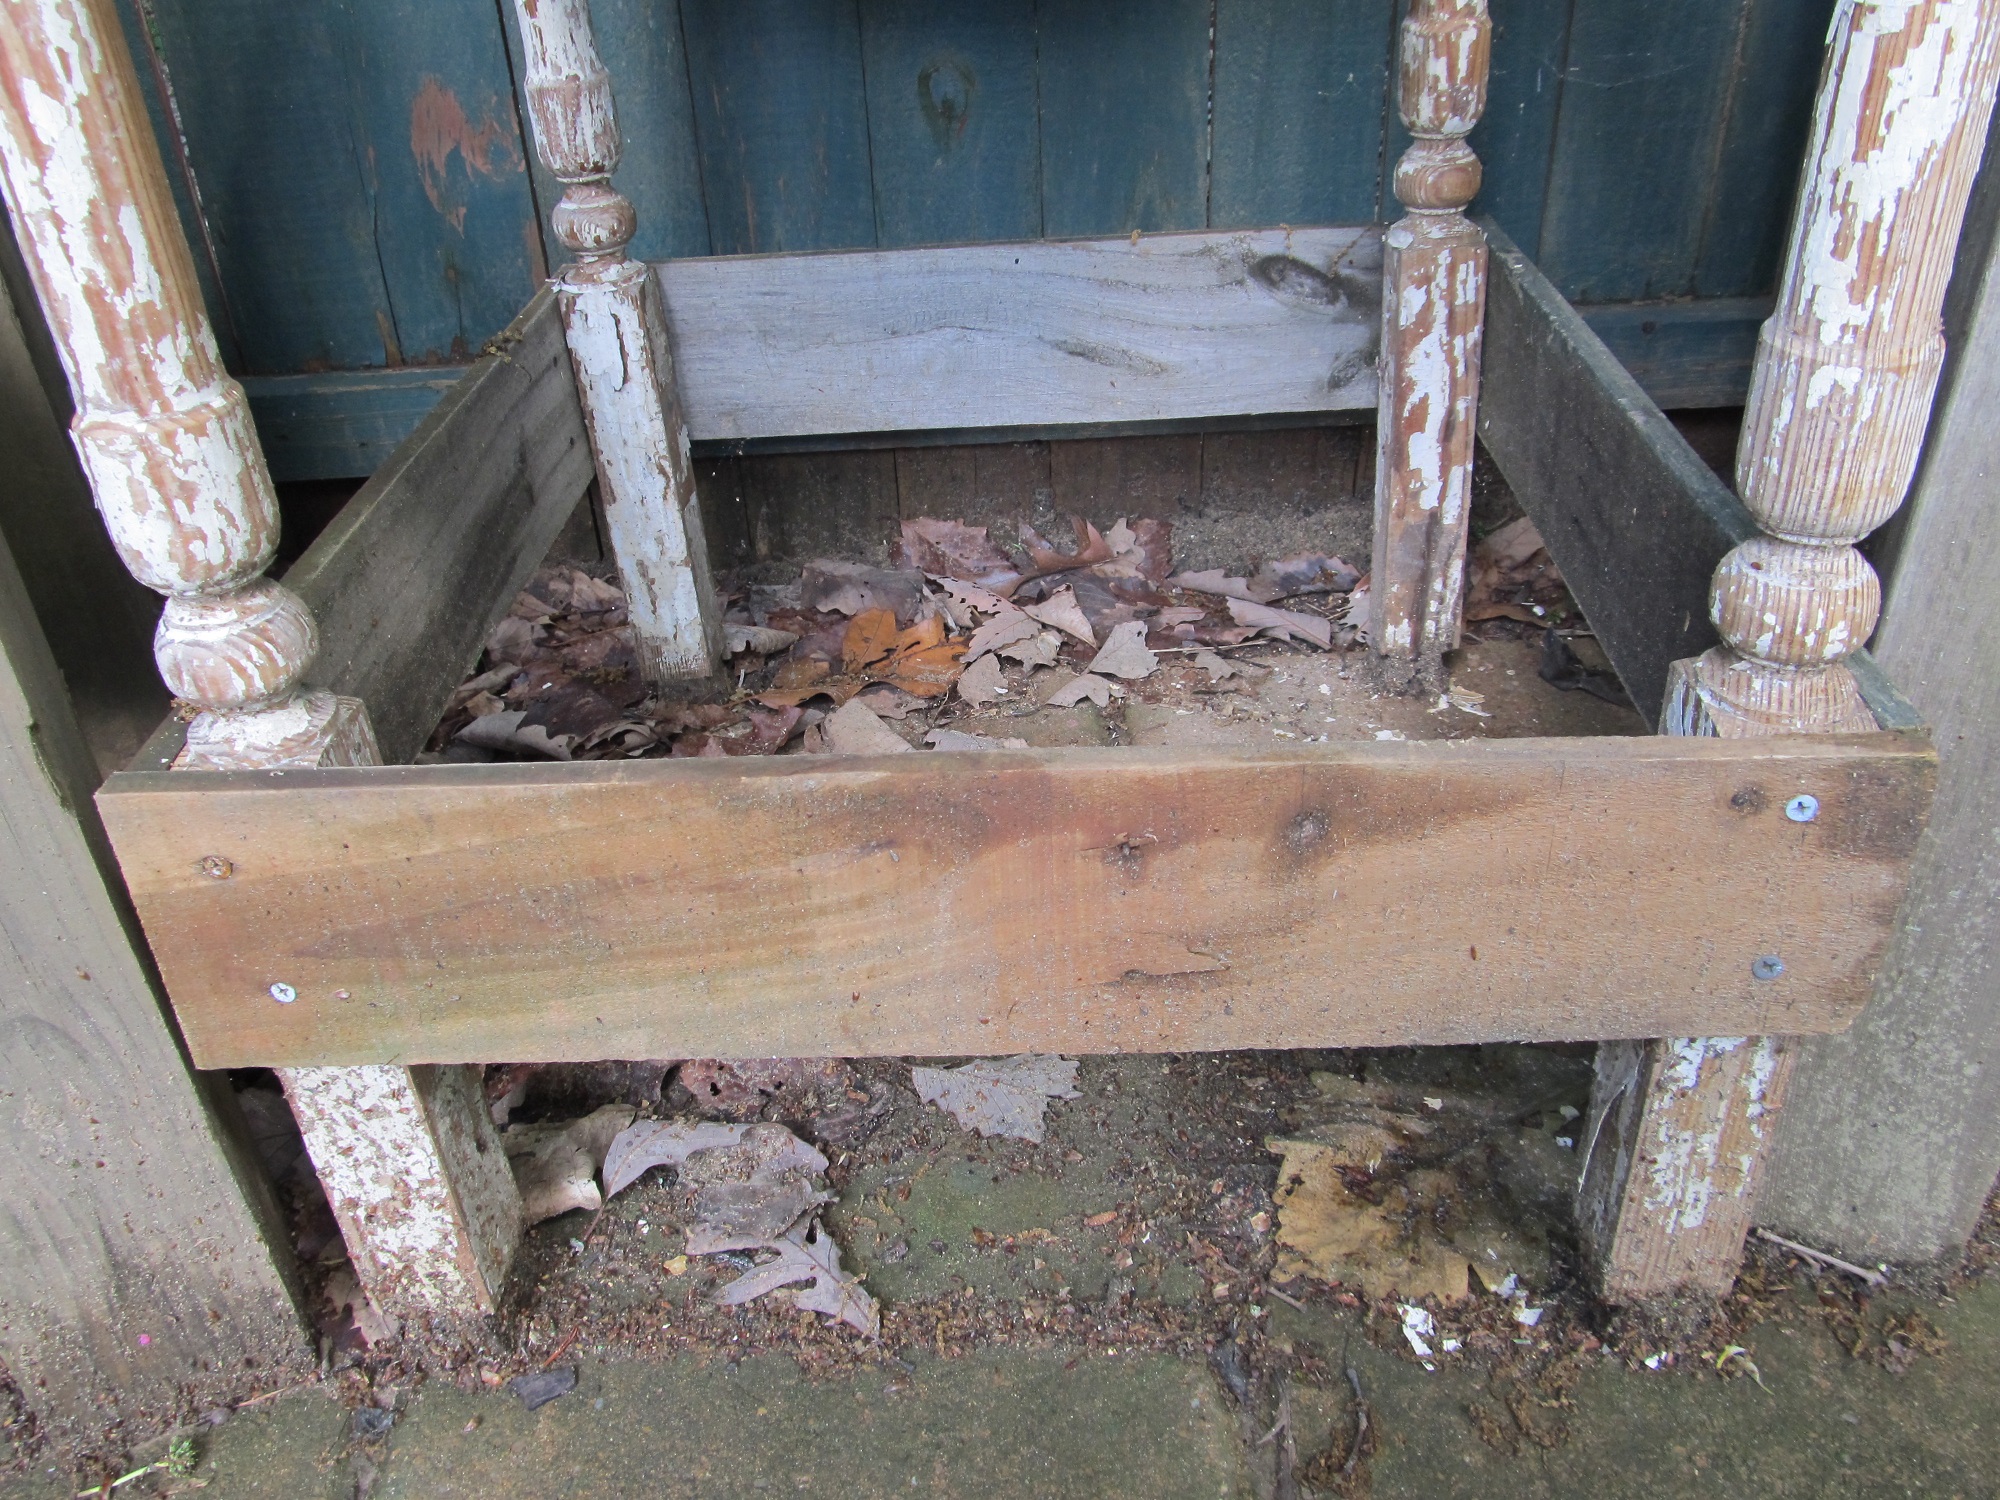
Repeat the same process further down as shown. This will make the table stable and will allow you to have a two tiered table if you want. If you are using nails you will need to cut a board to prop up the legs as you nail them. You will measure from the ground to the post and that will stabilize the leg while you pound nails into it. When you are finished you will have a square at the top and the bottom.
Step 5.
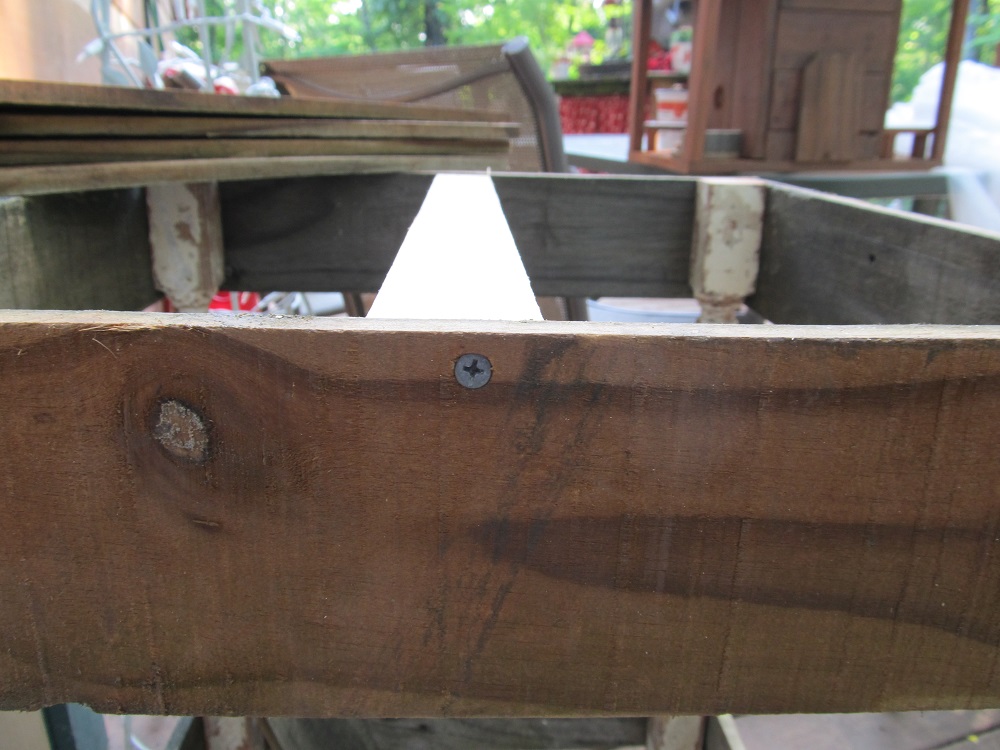
You will need to put a crosspiece in the top of the table to make the table top stronger. I used a small sturdy board called a furring strip. They are cheap and sturdy and you can get them at any lumber place. Measure the inside of your table top and cut the board to fit exactly. You will attach it as shown above with a screw or nail.
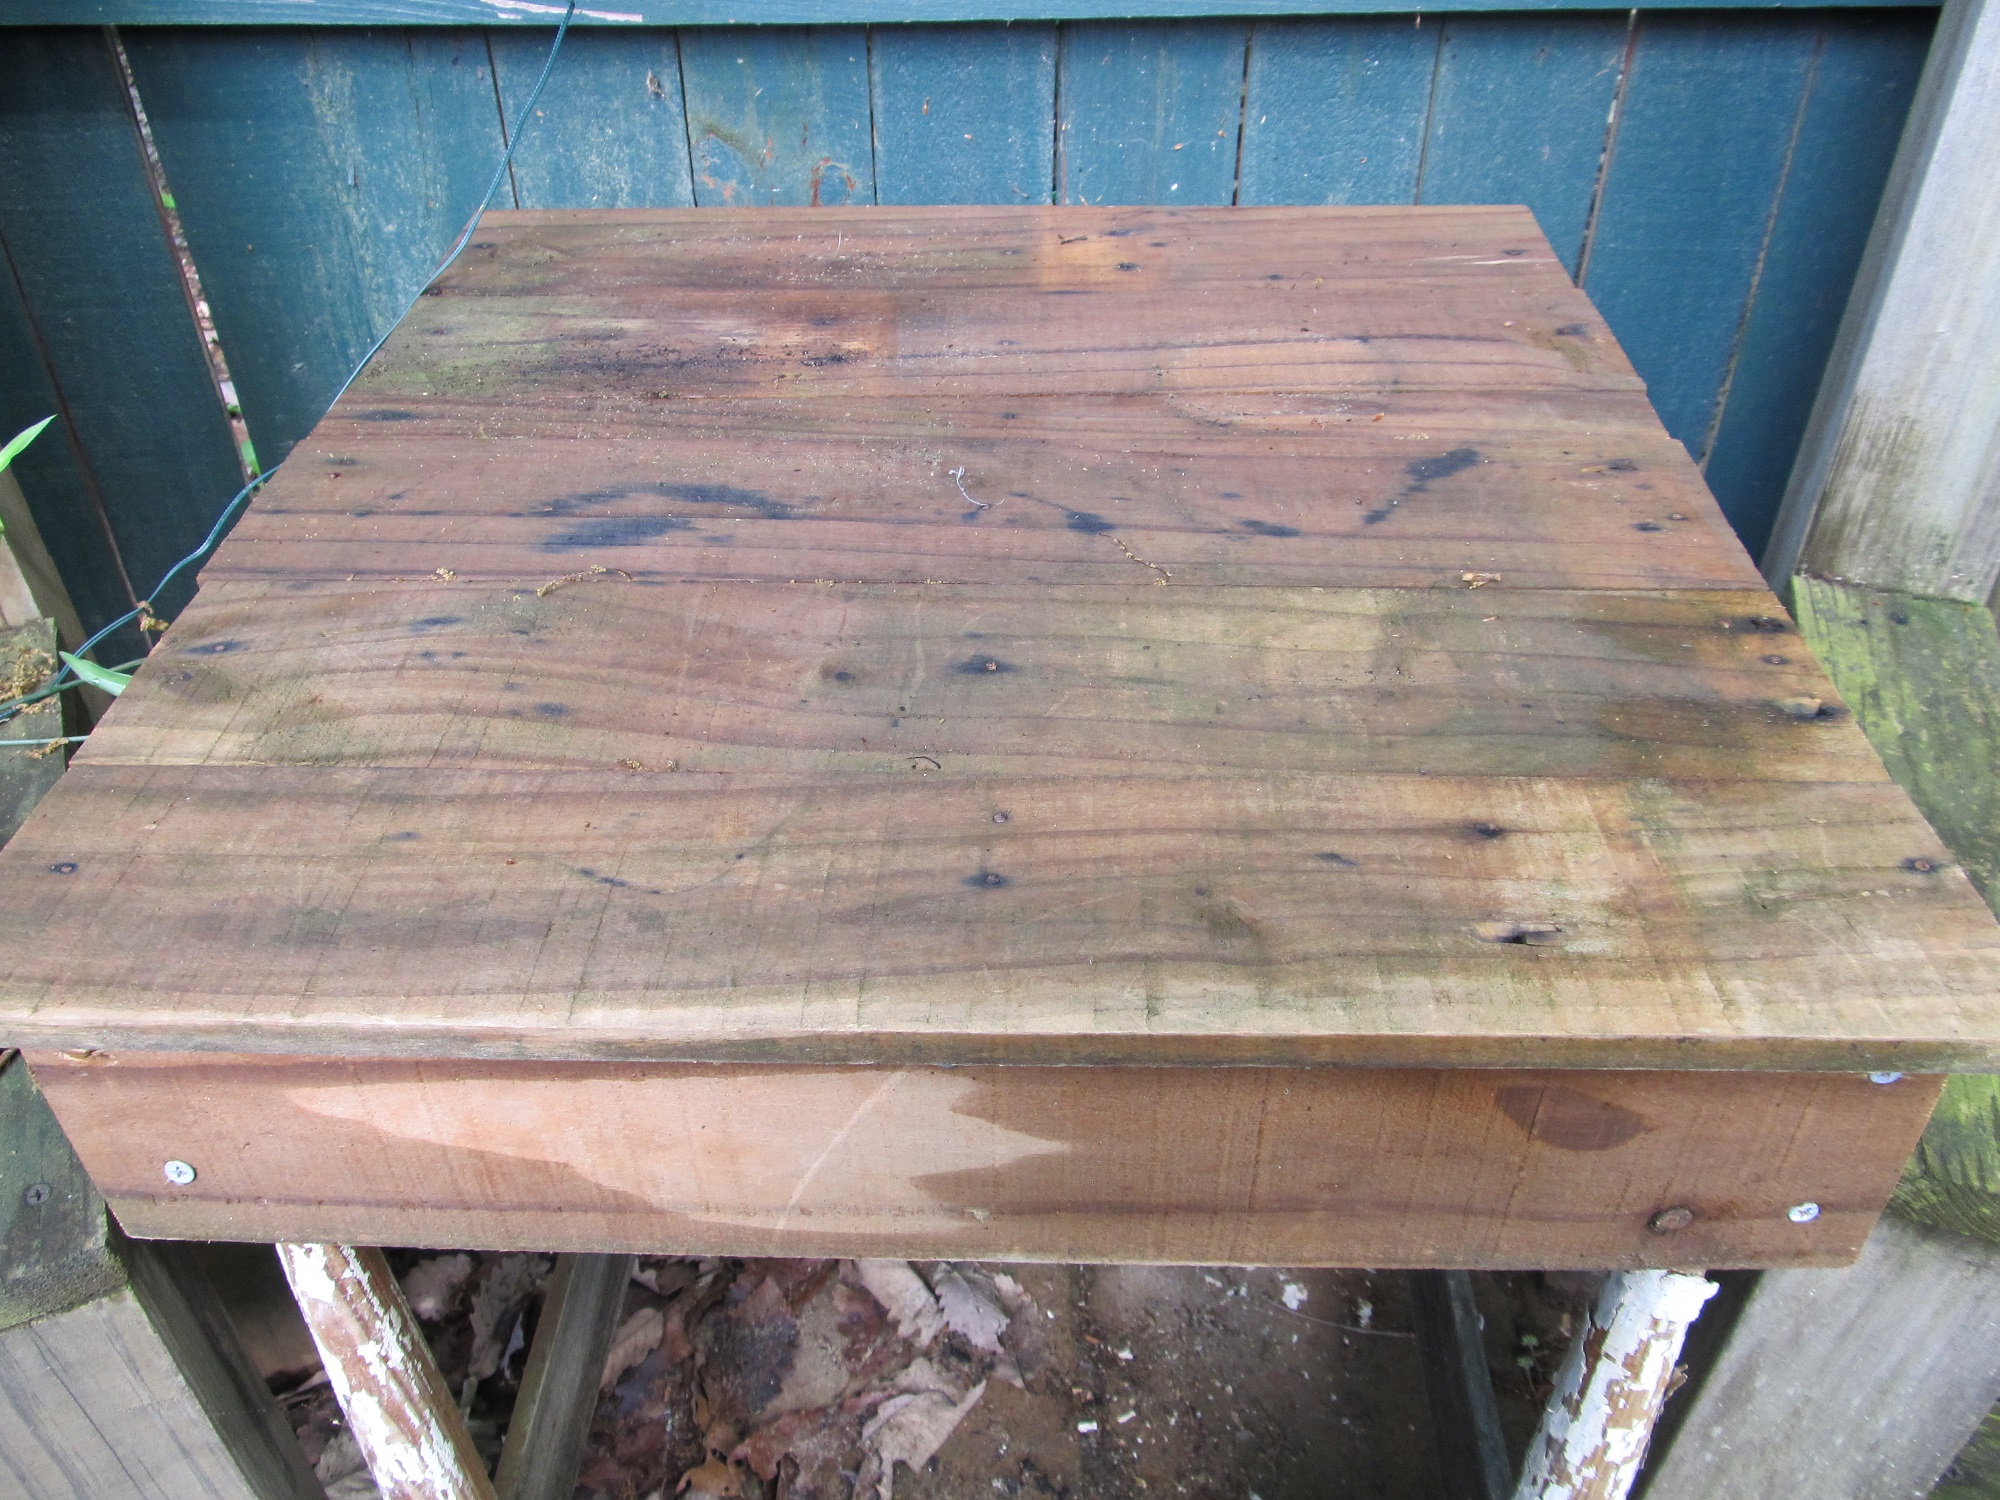

Step 6.
Cut boards that are a little longer than your table top so you have a little bit of overhang. Nail or screw them on one at a time lining them up evenly. Next you will cut four boards to go around the edge as shown. This gives it a finished look. I did not put a shelf on the bottom because I am going to put a big fern under mine but it you want a shelf just repeat step 5 & 6.

Thank you for this well-written and informative post. The depth of your analysis is impressive, and your writing style is engaging. I learned a lot from this article and will definitely be referring back to it in the future. Keep up the great work!
GCdElpSkhayHBA
https://shorturl.fm/pe3Xj