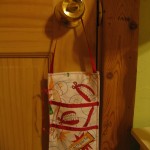
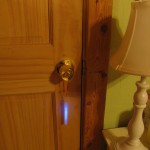
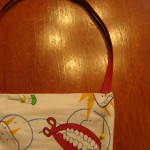
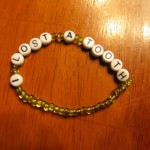
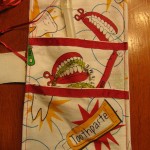
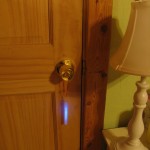
When my kids were small the loss of a tooth was a huge big deal but a couple of times I actually forgot to take care of tooth fairy business. The same thing happened to my daughter so I came up with this idea to prevent tooth fairy disasters. There is a glow stick to guide the tooth fairy to the right room and a pocket to place tooth in. There are also beaded bracelets to help you remember your duties and one for the child to wear that proclaims, “I lost a tooth.” The pouch is designed to hang on door knob or bed post and is really easy to make.
Material:
- small piece of fabric (I found my fabric at Wal Mart)
- ribbon
- glow stick
- alphabet beads
- solid color beads
- stretchy beading cord and needle
Step 1
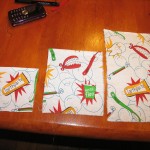
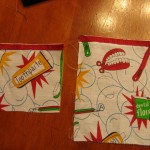
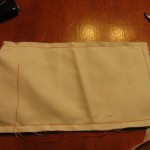
Cut three pieces of fabric measuring 4 1/2″, 6 1/2″, and 9 1/2″ X 7″. Also cut out an extra 9 1/2″ piece for the back.
Step 2.
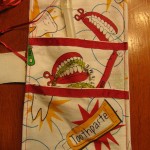
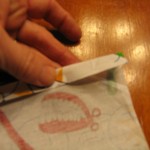
Fold over a quarter inch at the top of both of the smaller pieces and press. Stitch a piece of contrasting ribbon across the top of both pieces.
Step 3.
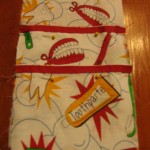
Place the medium size piece on top of the large piece. Place the small piece on top of the medium piece as shown. Pin in place with all pieces even at the bottom. Stitch around sides and bottom.
Step 4.
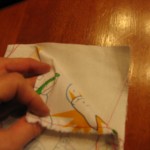
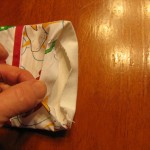
Stitch around sides and bottom and then turn to the right side through the opening at the top. Press.
Step 5.
Turn under a half inch at top and press. Cut a piece of ribbon to hang pouch and stick each end of ribbon in corners as shown. Stitch across the top.
Step 6.
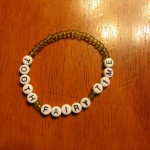
Using alphabet beads and solid color beads make a reminder bracelet for mom or dad that says, “tooth fairy time” and a bracelet for child that says, “I lost a tooth!” I used the stretchy beading cord and a beading needle. I doubled my cord for added strength.
Step 6.
Use the pockets to store the glow stick and bracelets until the big night. Then place the tooth in one of the pockets and hang on the door or bed post. Wear your reminder bracelet until you have completed your tooth fairy assistant duties. The glow stick is an additional reminder! The tooth fairy can place the money in the pocket when the tooth is collected so that your child will know right where to look in the morning.
Leave a Reply