


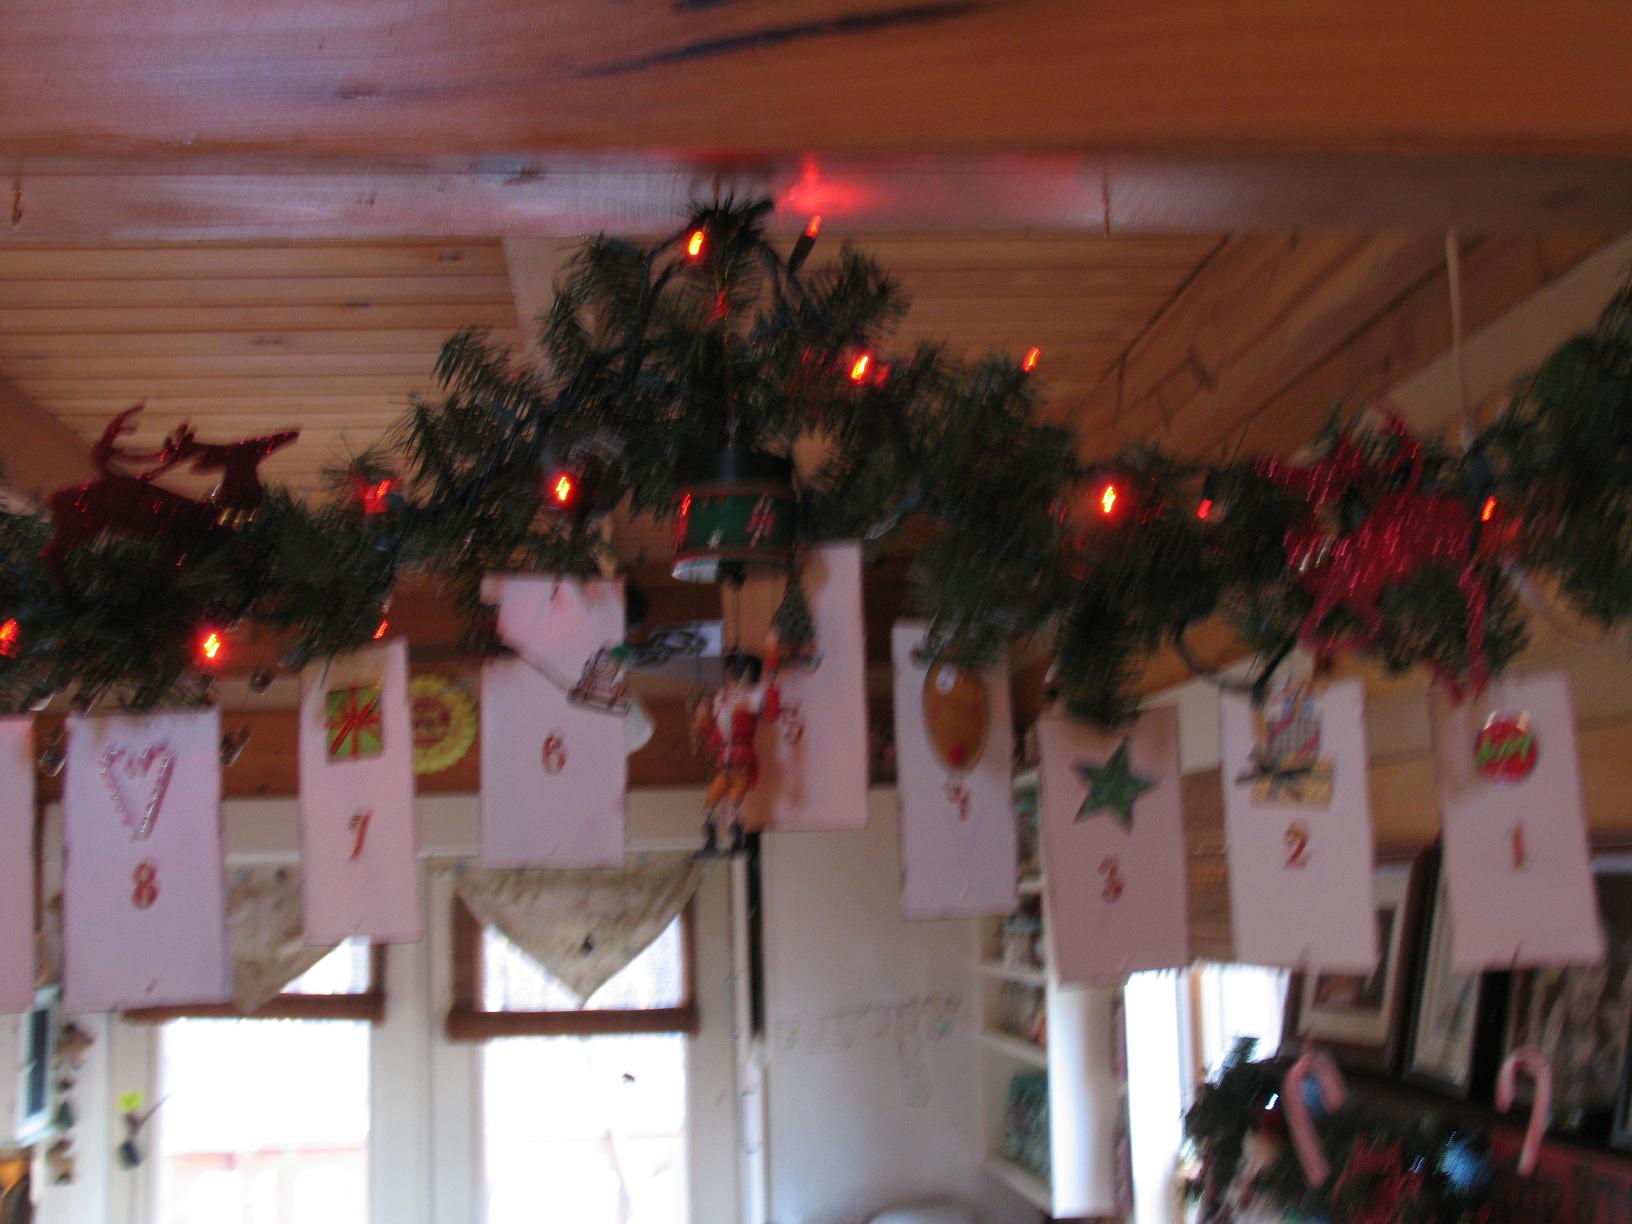
This paper banner is another fun project you could do with your kids. You could even have them draw pictures on the paper instead of using embellishments. I got the idea from a similar project in Country Living a long time ago and loved the simplicity of it. I used paper rectangles cut from card stock and then added embellishments from my scrapbook supplies. I hang a candy cane on the bottom to mark the days until Christmas. You could do the same thing for Hanukkah or other holidays.
Materials:
- cardstock paper
- stamp set or stickers
- embellishments
- florist wire
- hooks and candy canes

Step 1.
Cut out twenty five rectangles from cardstock paper. Punch a hole in the top and bottom of each piece.


Step 2.
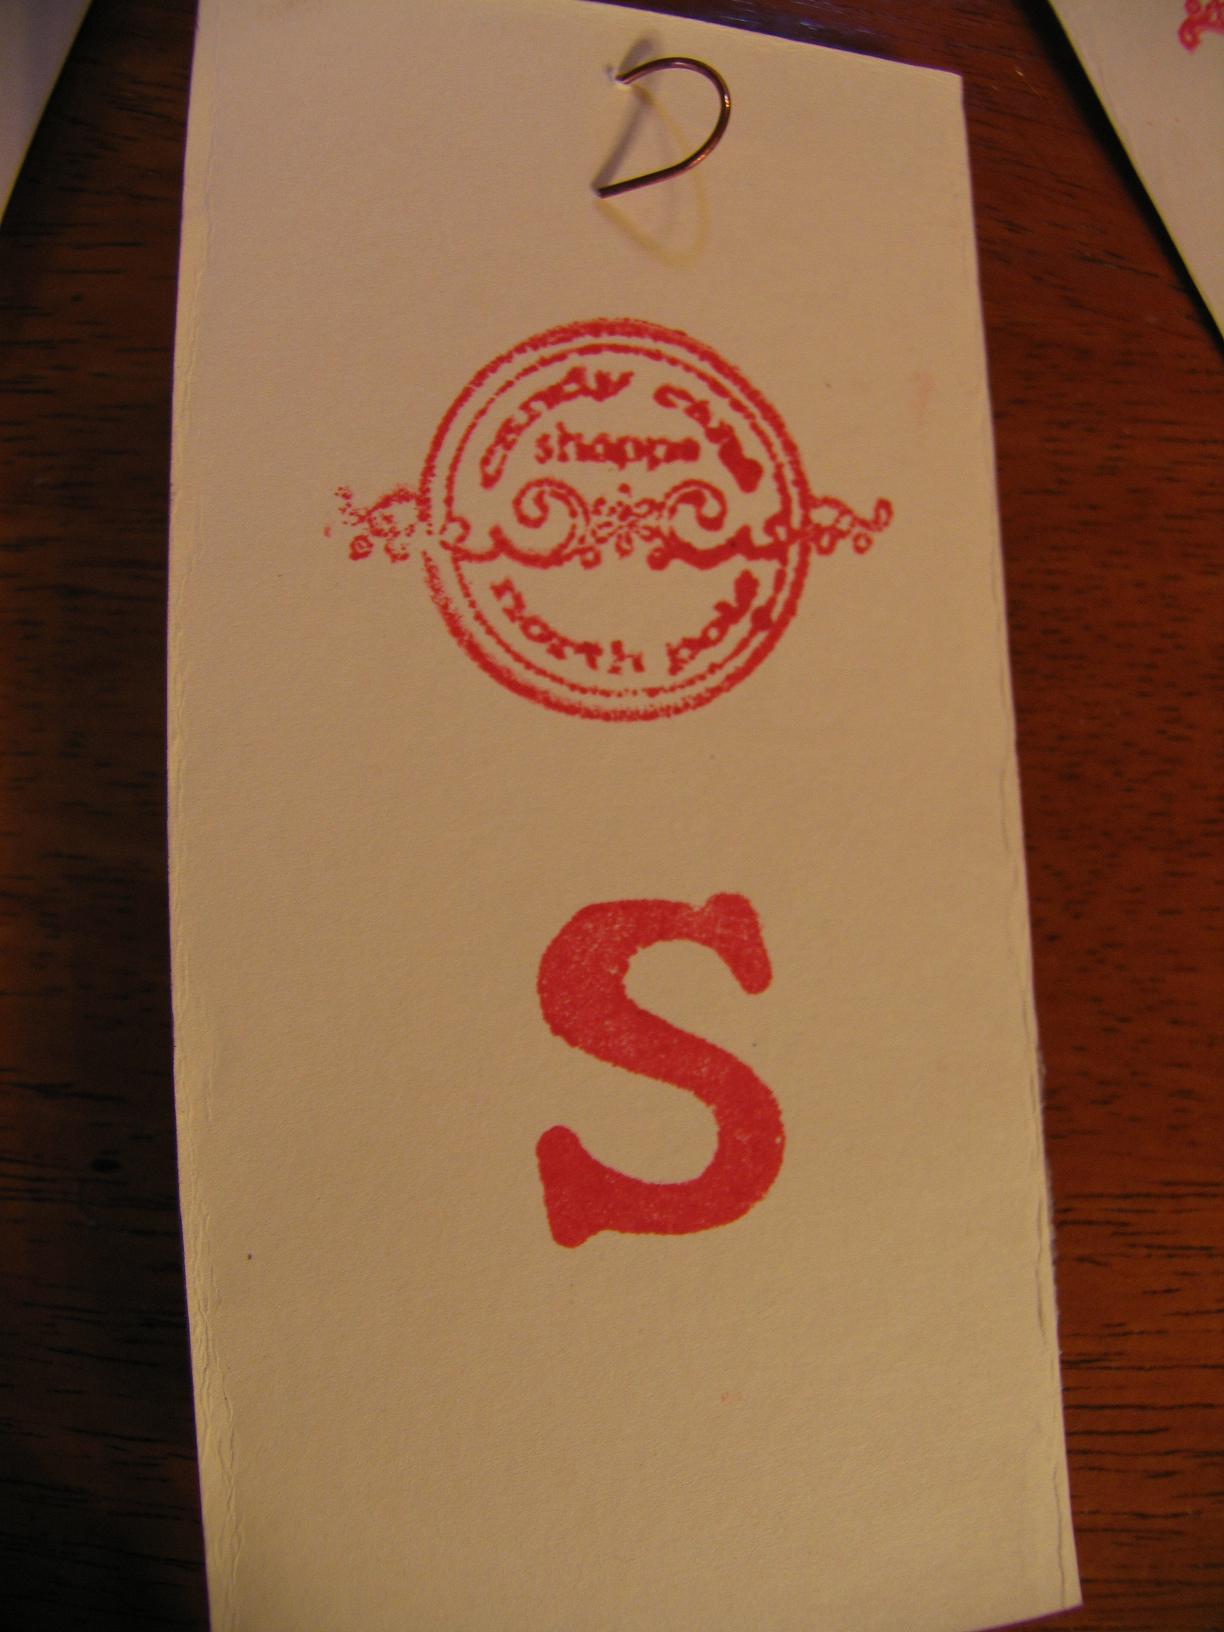
I edged the papers with a chalk stamper to give it an old fashioned look. I used stickers for the numbers but would have used a stamping set if I had one. I am sure I’ll be purchasing one soon because I’m really getting into stamping! Because I was hanging my banner across a beam that separates my living and dining area and both sides will show I decided to write “Have a Merry Christmas” across the back using a stamp set. I added a little stamp embellishment on top of each letter for balance. This would be a fun thing to do for Hanukkah if you used blue paper and made it for eight days. You could hang dreidels or stars at the bottom. I had to allow spaces between words and an extra blank paper at the beginning and end so I cut out some extra rectangles of scrapbook paper and glued it on the backs of the paper where I needed it.


Step 3.
I added embellishments at the top from my scrapbooking supplies but you could use almost anything. You could even glue the candy canes to the top if you want to save money. Or your kids could draw pictures on the cards which would make the banner even more special.


Step 4.
I punched a hole in the top and bottom of card and used wire to hang them. I used some decorative hooks to hang the candy canes on the bottom. I used decorative hooks that I got at Wal Mart last year but they didn’t carry them this year. I did find some at Hobby Lobby.
Leave a Reply