Vintage Halloween pumpkins on a chalkboard base

IMG 1848 150x150 Vintage Halloween pumpkins on a chalkboard base

This little group of pumpkins are made from lightweight canvas fabric and their vintage faces are painted on in easy steps. I painted a piece of thin wood with chalkboard paint and attached the pumpkins with hot glue.

Materials:

  • small piece of lightweight canvas fabric
  • orange and green paint
  • green embroidery thread and needle
  • glue gun
  • one small piece of wood (I bought a pack of four at Hobby Lobby)

pumpkin patterns 150x150 Vintage Halloween pumpkins on a chalkboard base   put front and back together right sides together and stitch. Leave opening at top 150x150 Vintage Halloween pumpkins on a chalkboard base

Step 1.

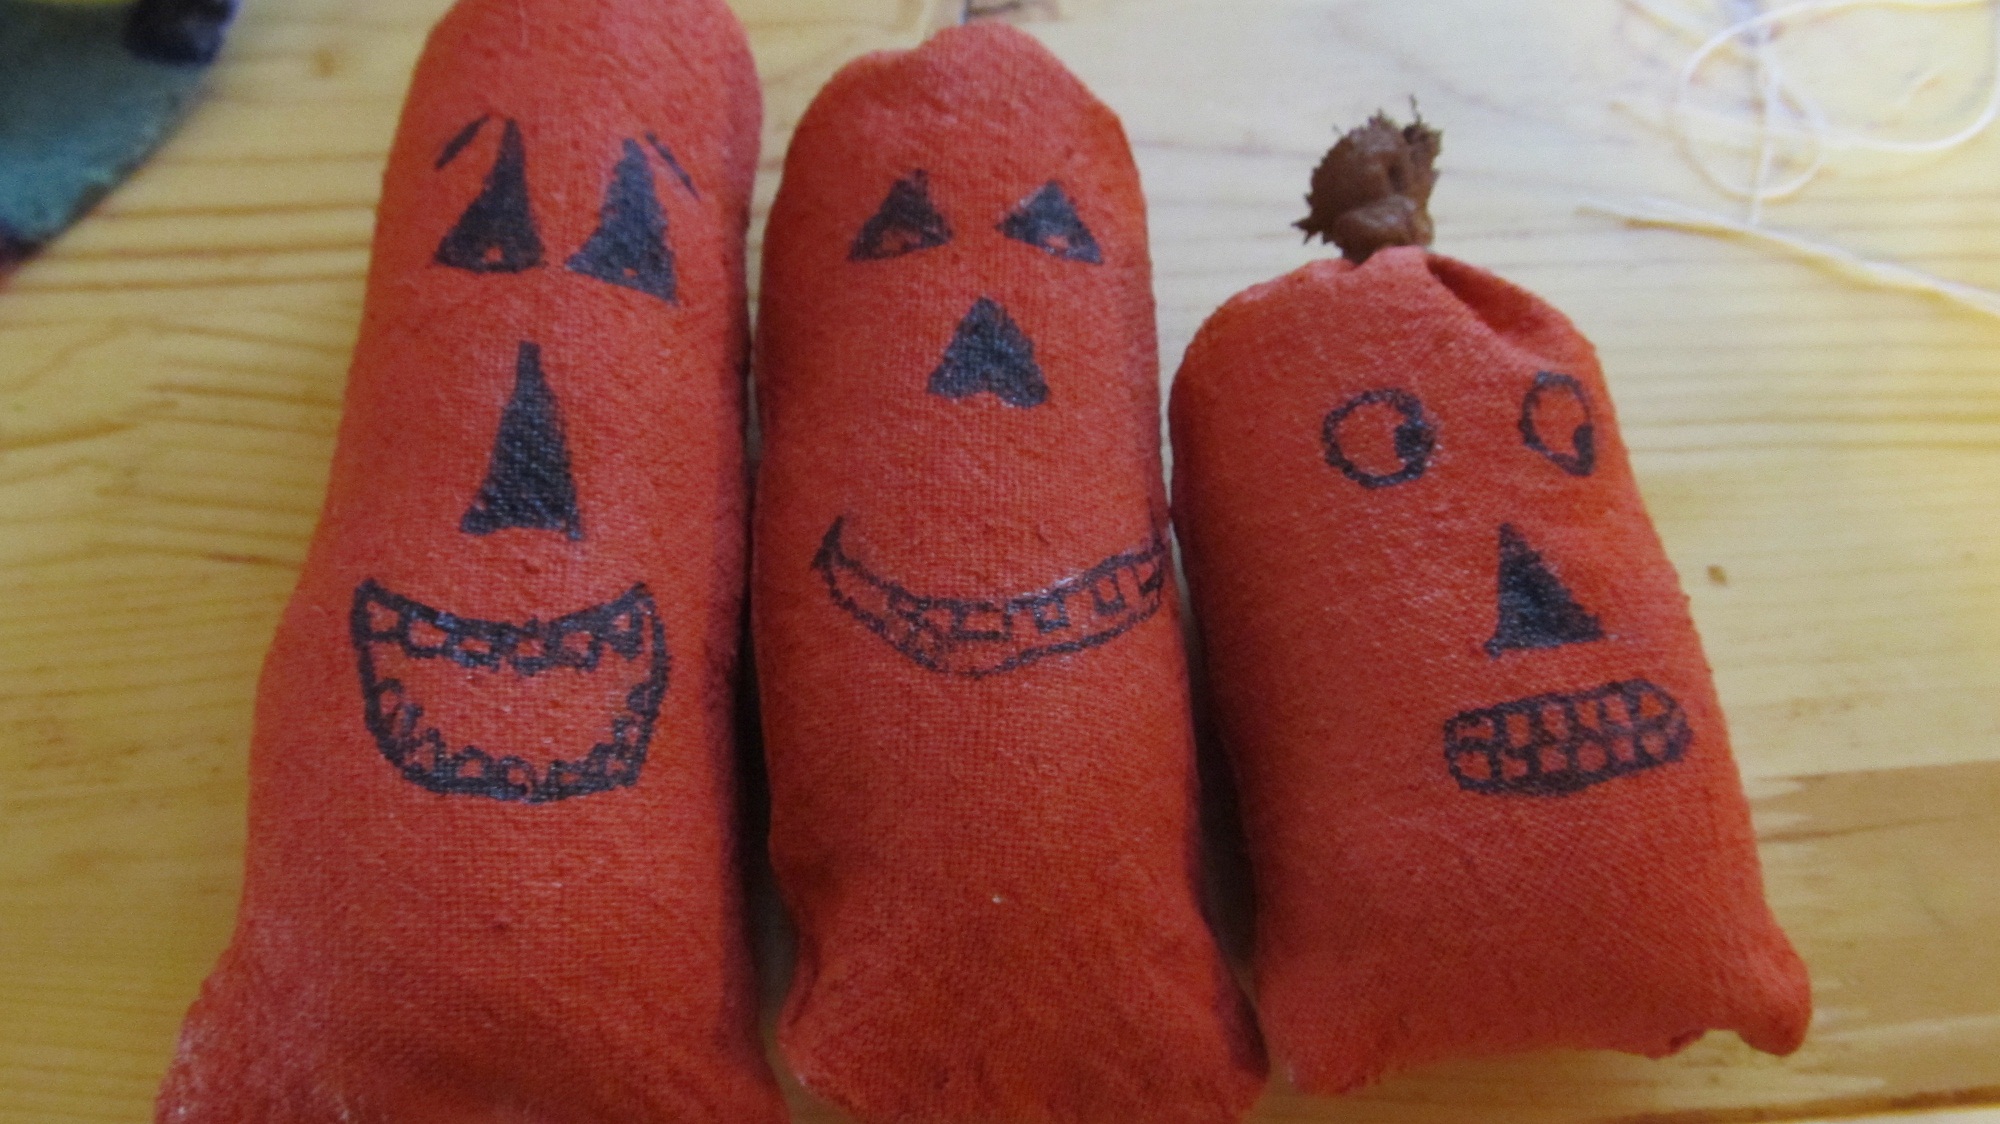
Cut out three pumpkins in different sizes. You can make them any shape you like but make sure they will fit on your board.  Cut out a front and back piece for each pumpkin.  Put them together  (right sides together) and stitch along edge using a 1/4 inch seam allowance.  Leave an opening at the top. 

After paint dries gather top of each pumpkin by taking a running stitch around the top. 150x150 Vintage Halloween pumpkins on a chalkboard base   pull cord tight to make stem. 150x150 Vintage Halloween pumpkins on a chalkboard base   wrap stem as shown 150x150 Vintage Halloween pumpkins on a chalkboard base

Step 2.

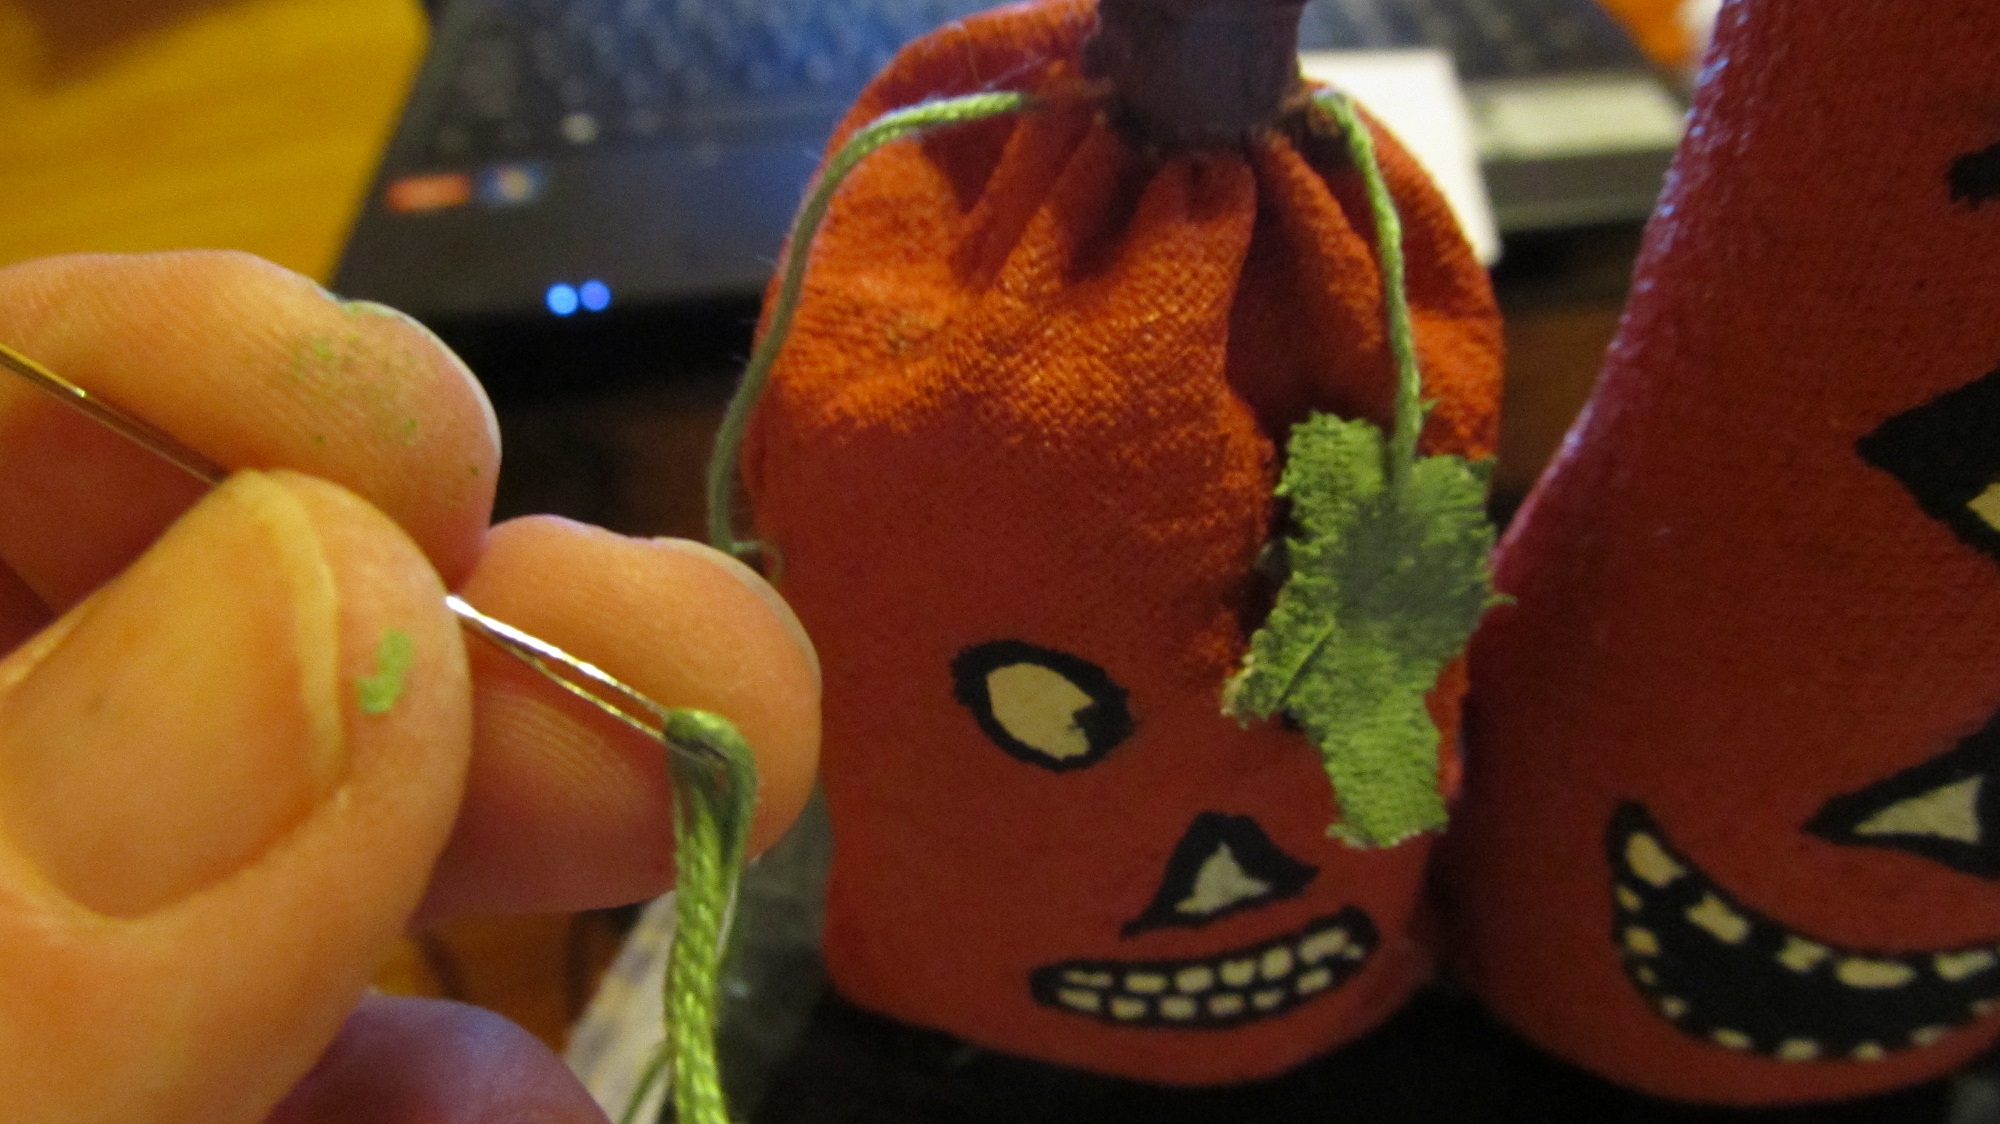
Turn to outside through the opening at the top. Paint the pumpkins. Let them dry and then stuff with poly fill. Take a needle and some strong thread like buttonhole thread and do a running stitch all around the top as shown. Pull it tight and tie a knot and then wrap the cord around the top as shown in the third picture and then tie more knots to keep it in place


paint stems brown1 150x150 Vintage Halloween pumpkins on a chalkboard base

Step 3.

Paint the stems brown.

first pumpkin1 150x150 Vintage Halloween pumpkins on a chalkboard base  pumpkin 4 150x150 Vintage Halloween pumpkins on a chalkboard base   final coat of black paint pumpkin 1 150x150 Vintage Halloween pumpkins on a chalkboard base

pumpkin 1 150x150 Vintage Halloween pumpkins on a chalkboard base   pumpkin 61 150x150 Vintage Halloween pumpkins on a chalkboard base   final coat of black paint pumpkin 2 150x150 Vintage Halloween pumpkins on a chalkboard base

pumpkin 2 150x150 Vintage Halloween pumpkins on a chalkboard base  pumpkin 51 150x150 Vintage Halloween pumpkins on a chalkboard base   final coat of black paint pumpkin 3 150x150 Vintage Halloween pumpkins on a chalkboard base

Step 4.

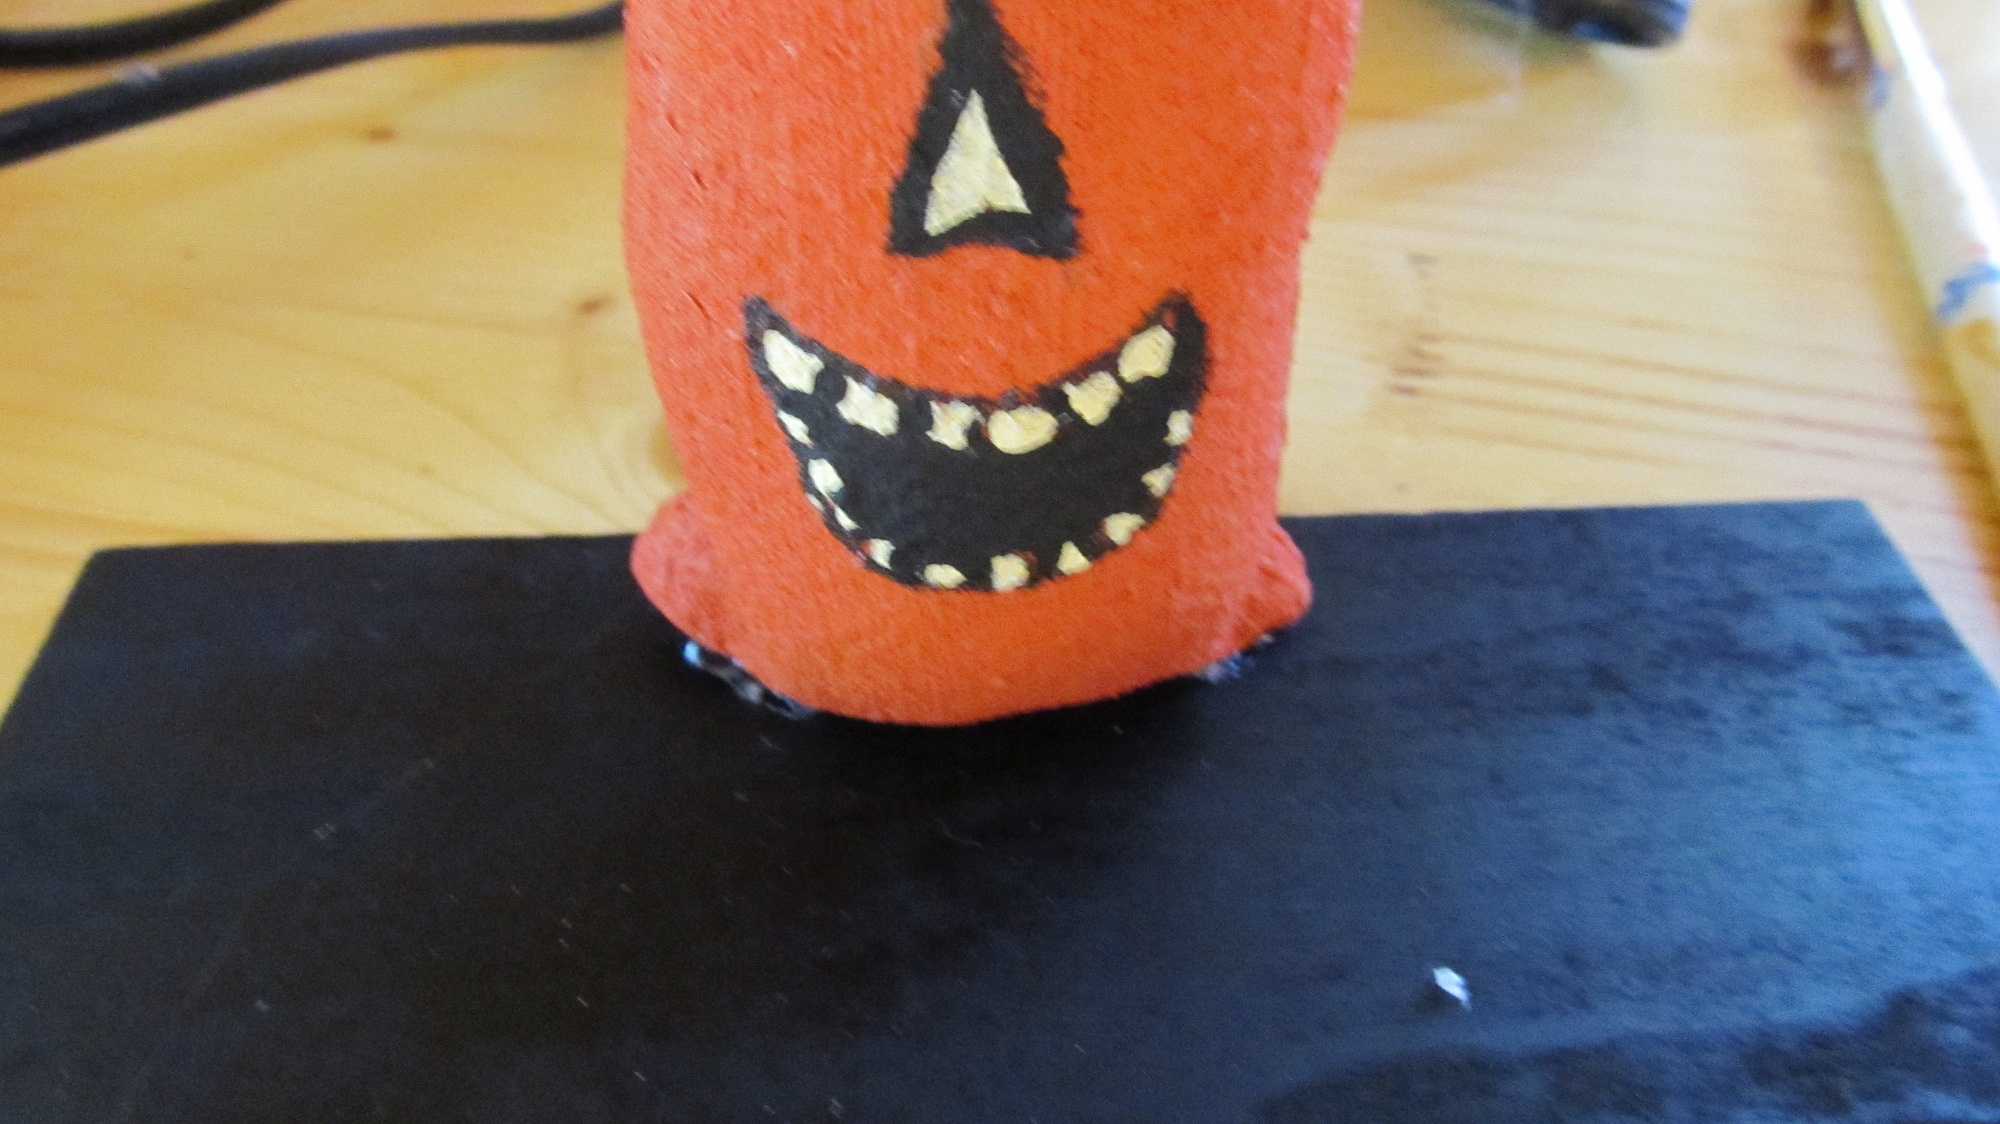
Draw the faces on with a felt pen. There are lots of pumpkin faces online if you don’t like vintage pumpkins. Then add in the white with a fine brush and white paint. Then fill in the black with a fine brush and black paint.

pattern for leaves 150x150 Vintage Halloween pumpkins on a chalkboard base   cut out leaves and paint 150x150 Vintage Halloween pumpkins on a chalkboard base  

Step 5.

Cut out leaves and paint. Let dry.  

spray paint small board for base 150x150 Vintage Halloween pumpkins on a chalkboard base  

Step 6.

Spray paint a thin piece of wood with chalkboard paint. Let it dry.

glue one pumpkin in center with hot glue2 150x150 Vintage Halloween pumpkins on a chalkboard base   glue second pumpkin on1 150x150 Vintage Halloween pumpkins on a chalkboard base   glue on third pumkin 150x150 Vintage Halloween pumpkins on a chalkboard base

Step 7.

Attach pumpkins to base one at a time using hot glue.

tie a knot to hold in place 150x150 Vintage Halloween pumpkins on a chalkboard base   sew leaf on as shown2 150x150 Vintage Halloween pumpkins on a chalkboard base   sew one leaf on each side1 150x150 Vintage Halloween pumpkins on a chalkboard base

Step 8.

You will use embroidery floss to attach leaves as shown. Tie a knot in the end of thread for the first leaf and then stick the needle through the stem and then attach the second leaf. Repeat this on all three pumpkins.

chalkboard 150x150 Vintage Halloween pumpkins on a chalkboard base

Use the stand to write any message that you want. I use mine as a countdown to Halloween.


Not2Crafty Shopb Vintage Halloween pumpkins on a chalkboard base

About Elaine Kazinec

I have never met anyone who can't make wonderful things for their homes, friends, and family, only those who think they can't. The purpose of this blog is to show everyone how really simple most projects for the home are to make. When my husband and I bought our first home we were short on cash so I learned to be long on creativity. I have been told that I can make something wonderful out of nothing and that is true. You can too! Some of my favorite things are items that I found in someone's junk pile. I am going to show you how easy it really is. I hope you find the courage to jump in and attempt some of these projects. You will be amazed at how talented you really are.