
This reindeer is made from a wine cork and some twigs. This is a really fun project to do with your kids. My grandson made this with very little help from me! Unfortunately my dog got a hold of it and chewed it up so I guess we will make some more soon!
Materials:
- two wine corks
- twigs
- tiny red bead or pom pom for the nose
- two wiggly eyes or beads
- small piece of twine for tail


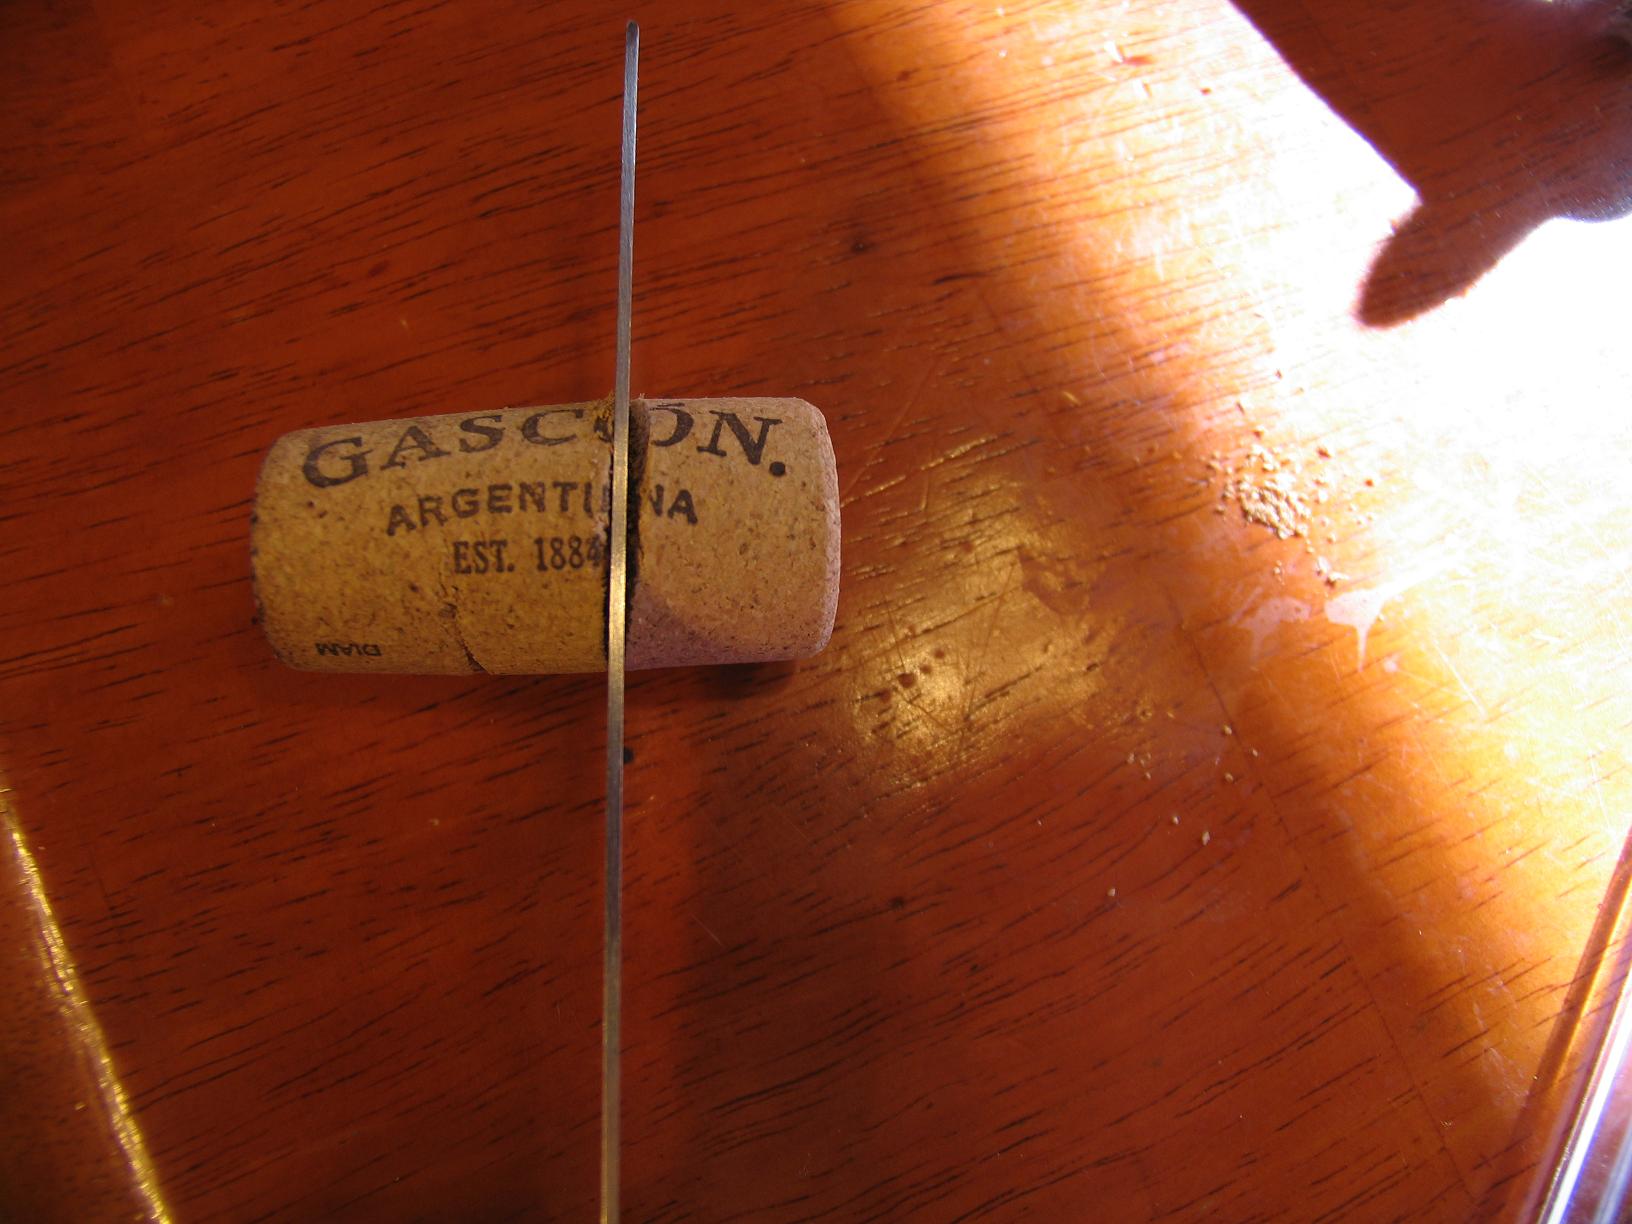
Step 1.
I punched the four holes in the bottom of the cork using a punch or ice pick. Logan and I went out and looked for twigs and then he cut them himself using small dog clippers. They are perfect for cutting twigs but won’t work very well for your dog’s toenails after a while! Next he dropped glue into each hole and stuck the legs (twigs) into the holes.


Step 2.
Adult will need to slice off a piece of cork to use as a head.Punch a hole in the bottom and insert a short twig to connect it to the reindeer body.


Step 3.
Punch a hole in the top of cork and then insert the head. Next you will punch two holes in the top of the cork for antlers. We used some wild blueberry twigs for antlers but even in the city you can find many different twigs. When my kids were young we lived in California and we would go to a park near our home to find twigs and other stuff for craft projects. I also used to make my husband stop the car when we went places so I could grab good branches and twigs!


Step 4.
Put dots of glue for eyes and then place the wiggly eyes or beads. Put a dot of glue for nose. I used a tiny red pom pom but a bead would work too.

Step 5.
Poke a hole in end of cork and then attach a small piece of twine with some glue.
Leave a Reply