
This journal is made from poster board and fabric that looks identical to good soft leather. You can use any kind of paper for the pages and for this size a standard size sheet of paper cut in half is just right. It requires no special skills and is a very inexpensive project that looks expensive. I have made these as part of a gardening gift basket by adding gloves, seeds, a small trowel, a bar of garden soap, and a nice pot.Â
Materials:
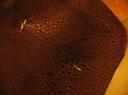
- 1/2 yard of very soft leather or (as I used in this project) a fabric that is very soft and lightweight and looks exactly like leather.  I purchased mine at Wal Mart but I think any fabric store would carry it.
- a small sheet of lightweight poster board
- hot glue gun
- leather cord (about 1 yard)
- paper for pages

Step 1.
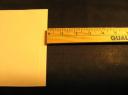
Cut two pieces of poster board 9″ x 6″.

Step 2.
Lay front and back piece of poster board on wrong side of fabric and measure an extra inch all the way around. Cut two, one for the front and one on the back.
Step 3.
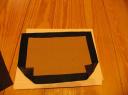
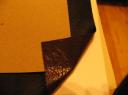
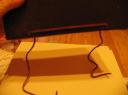
Fold each corner in and secure with hot glue as shown in pictures.

Step 4.
Fold in top, sides, and bottom as shown and secure with hot glue. Make sure corners line up as shown in picture.

Step 5.
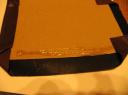
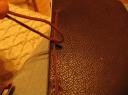
Cut two pieces of fabric 8″ x 5 1/2.” Glue it over the poster board on front and back as shown.

Step 6.
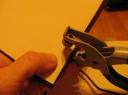
Punch two holes in front and back covers making sure to line them up evenly.

Step 7.
Fold standard sheets of paper in half and cut them to use as pages.  Using the front cover mark the holes on each sheet and punch holes.Â
Step 8.
Reinforce holes in paper so they won’t tear as you turn pages. Feed the leather cord through the back cover then through all sheets of paper. Then feed the ends of the cord through the front cover and secure by tying with a knot or bow.Â

Step 9.
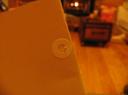
I added a bookplate and fastened it with brads. You can get these at any store that sells scrapbooking supplies.
Leave a Reply