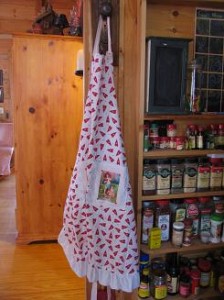
I made this apron using a basic apron pattern but made some changes and added pockets made from vintage post cards and fabric paper. I found a website that offered free downloads of vintage cards and the quality was great. You could make this apron to fit any holiday or occasion.
Materials:
- pattern ( I used Mc Calls M5386)
- fabric ( pattern will tell you how much to buy)
- additional yard of contrast fabric for ruffle and pockets
- fabric paper
- vintage post cards
- one set of half ring strap holders
Step 1.
Cut out apron pieces according to instructions. You will need to cut some additional pieces later that aren’t a part of the pattern.
Step 2.
Post card pockets
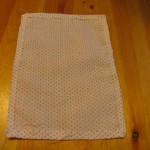
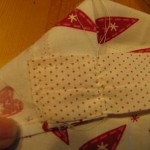
To make pockets cut two pieces of contrasting fabric. I used a solid and a mini dot print. From the solid fabric I cut two pockets 8″ x 9″. From the mini dot I cut two pieces 7″ x 5″. Narrow hem all sides of the solid pocket pieces. Now fold over the top of the pocket pieces to the inside about an inch and a half and press. Take your two smaller pieces and narrow hem all the way around. Press.
To make your post card pockets find a vintage post card online and then print them onto fabric paper.
(I went to hubpages.com and then typed in victorian valentines on their search bar. These are free downloads and are very good quality. )
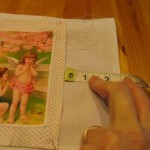
After you print up your cards on the fabric paper follow the manufacturers direction to set the ink. Now take your pictures and center them on the smaller pocket pieces. Pin in place and then stitch around edge.
Now place the smaller pieces inside the larger pocket pieces and center them. Pin into place and then stitch all the way around. Pin into place on front of apron and stitch into place.
Step 3.
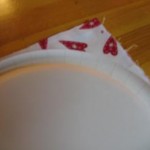
I rounded off the edge of the apron using a paper plate as shown.
Step 4.
Ruffle
Cut two pieces of solid fabric that are six inches wide and a yard long. Stitch them together. Now baste along edge using a basting stitch and then stitch again 1/4 inch away from the first stitching line.
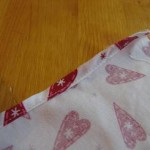
Pull the threads to gather and then pin to the bottom of your apron adjusting the ruffle to fit. If you want a loose ruffle you won’t need the whole fabric strip. Stitch into place and then turn to front and stitch along edge as shown above.
Step 5.
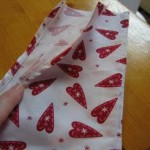
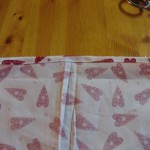
Narrow hem both sides of apron as shown. Narrow hem the top of apron. Now fold over 1 1/2 inches on the top. Stitch
Step 6.
Neck strap
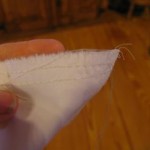
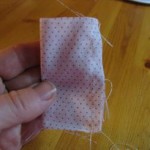
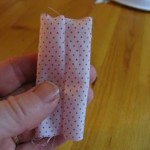
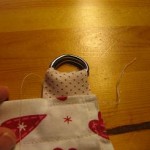
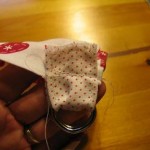
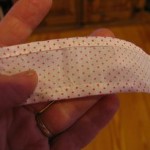
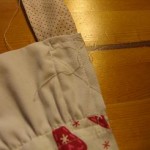
Take your tab piece and fold it in half right sides together. Stitch as shown. Turn to right side and press. Fold it in half and slip one end through your rings as shown. Stitch securely to one side of apron.
Step 7.
Hem the edges of your neck strap piece and attach it to the other side of apron top as shown.
Step 8.
Apron ties
Hem all edges of apron tie pieces. Attach them to sides of apron as shown.















Leave a Reply