This is a fun project that allows you to look back on your kids previous Halloween costumes and decorate your house at the same time. It’s easy to do with fabric, trim, and photo fabric sheets that work in your printer. You can easily add to it as the years go by and would be a great gift for grandparents.Â
Materials:
- half yard of five or six different fabrics including one solid color for photos
- fabric sheets designed for printers
- trim ( I used ric rac and ribbon )
- ribbon to string flags on ( needs to be less than 1/2 inch to fit through casings )
- fusing paper
Step 1.
Decide how many pictures you are going to use and then cut out that amount of solid fabric flags. You will need enough patterned flags to fit in between each of the photo flags and one for the beginning and end of flag strip. If you only have a few photos to use just add more patterned flags.
Step 2.
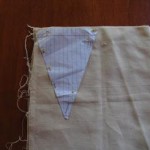
Press under 1/2 inch toward the back as shown.
Â
Step 3.
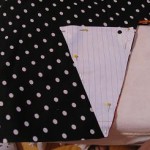
Cut a piece of ric rac long enough to go around flag. Lay it down on the front side of flag and then stitch it into place sewing down the center of the ric rac as shown. After you stitch the first side, turn and press, then fold the ric rac back over top as shown and repeat this step on the other side of flag.
Step 4.
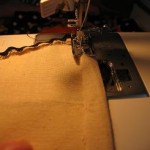
Stitch along bottom of folded over edge. This forms a pocket to slide ribbon through.
Step 5.
Select pictures you want to use and then select option to print wallet size photos. My program allows me to select multiple photos from the same file at the same time by clicking the print option on one of the photos. This allows you to print all the photos on one sheet of fabric paper.
Step 6.
After printing out pictures on the fabric sheet cut them apart and peel off the paper backing. Then place the photo on fusing paper and cut around photo as you want it to appear on the flag.Â
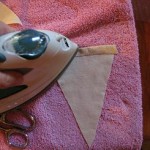
Press with a hot iron to fuse the paper to the photo.
Let it cool and then peel off the backing.
Lay the photo on the flag and press again with a hot iron. This will fuse the photo fabric to the flag.
Step 7.
Apply a thin strip of glue around edge of flag. Place ribbon on top of glue folding it over at bottom point and then going up the other side.
Stitch the bottom of the 1/2 inch you folded over at the top.
Step 8.
Attach a safety pin to the ribbon or string you are going to use and then pull it through the casing on each flag.














Leave a Reply