Video Tutorial
Step By Step Pictures

This project is very easy and fun to make using a new product. The photo is printed on fabric sheets that go into your printer like paper. If you follow the manufacturers directions your photos can be washed in cold water without harming them. I have created a video of this project that can be viewed on this web site.
Materials:
- fabric sheets ( These can be purchased at any store that sell computer paper. )
- 1 yard of fabric will usually be enough for 2 pillows
- piping or trim (optional)
- pillow form or extra fabric and stuffing to make your own pillow form.

Step 1.
The size of your fabric strips will be determined by the size of the pillow form you use, unless you decide to make your own. If you make your own you can make any size you want but if not then you will cut your strips to a size that will make your pillow front just slightly larger than your pillow form when it’s finished. I used 4″ wide strips for mine.
To make my strips I make a cut at the top of my fabric and then tear. Most cotton fabrics will tear this way and it gives you a nice even edge on both sides.
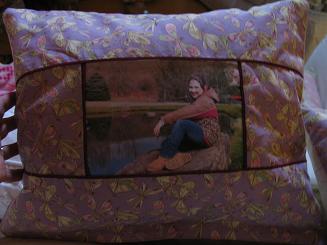
I like to lay out the top and bottom piece along with my photo in the center and then cut strips to fit the sides as shown in the above photo.


Step 2.
I applied piping to mine because it frames the photos and makes them pop. Cut piping to fit one edge of each piece. Stitch the piping into place and then turn and press as shown above.


Step 3.
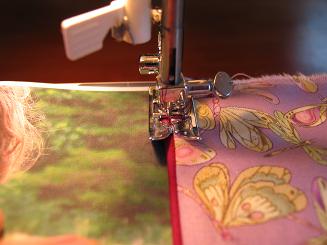
Pin side pieces to photo and then carefully stitch into place as shown.

Step 4.
Attach the other side piece as shown.


Step 5.
Now attach the top and bottom pieces as shown. Press.

Step 6.
Cut a piece of fabric that is the same size as the front.


Step 7.
Turn under 1/4″ on the front piece and on the back piece. Pin the velcro on as shown and then stitch into place on front and back pieces. Put the front and back pieces together (right sides together) and stitch on three sides leaving the velcro side open.

Turn pillow cover and press with a hot iron. Now just add your pillow form and you’re done!

Leave a Reply